WebFlyPostBackManager is tightly integrated with other Intersoft controls.
This topic will show you how to use WebFlyPostBack with Intersoft controls.
To use WebFlyPostBackManager with Intersoft Control
- Add a new page in your project and named it as UsingWebFlyPostBackManagerWithIntersoftControl.aspx.
- Drag WebFlyPostBackManager, WebCombo and WebGrid controls into the WebForm.
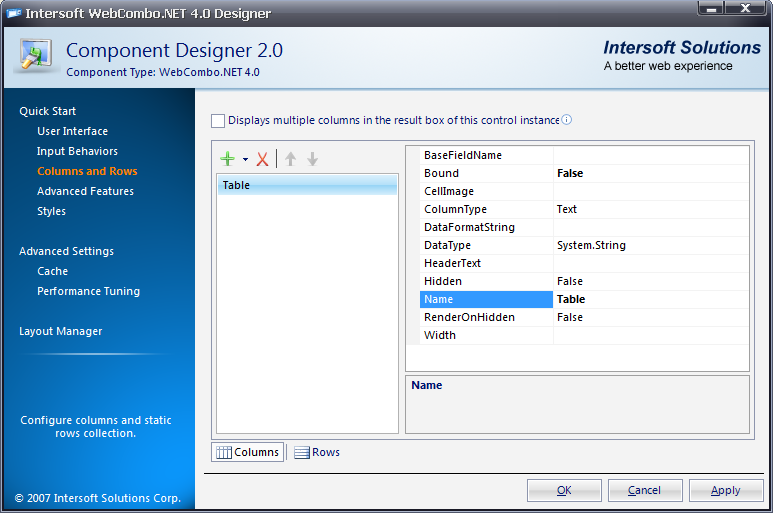
- Right-click on WebCombo control and choose WebCombo.NET Designer.
- Go to Columns and Rows section and create a new column.
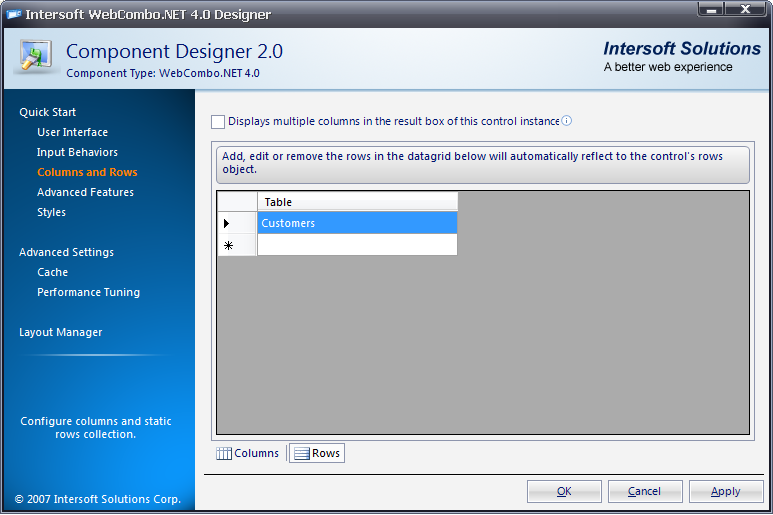
- Go to Rows tab, add Customers as a new row and click OK.
- Go to Advanced Settings and set AllowAutoPostback
to True.
- Bind and customize WebGrid using InitializeDataSource and PrepareDataBinding server-side events like following:
protected void WebGrid1_InitializeDataSource(object sender, ISNet.WebUI.WebGrid.DataSourceEventArgs e)
{
   if (WebCombo1.Text == "Customers")
   {
      dsNorthwind.CustomersDataTable dt = new dsNorthwind.CustomersDataTable();
      dsNorthwindTableAdapters.CustomersTableAdapter da = new dsNorthwindTableAdapters.CustomersTableAdapter();
      da.Fill(dt);
      e.DataSource = dt;
   }
}

protected void WebGrid1_PrepareDataBinding(object sender, ISNet.WebUI.WebGrid.DataSourceEventArgs e)
{
   if (WebCombo1.Text == "Customers")
   {
      WebGrid1.RootTable.DataKeyField = "CustomerID";
      WebGrid1.RetrieveStructure();
   }
}
|
- Call RebindDataSource() using ValueChanged WebCombo
server-side event.
protected void WebCombo1_ValueChanged(object sender, ISNet.WebUI.WebCombo.ValueChangedEventArgs e)
{
   WebGrid1.ClearCachedDataSource();
   WebGrid1.RequiresUIRefresh = true;
   WebGrid1.RebindDataSource();
}
|
- Now, create a page with WebFlyPostBackManager control included in it.
- Right-click on WebFlyPostBackManager control and choose Properties.
- Set EnableUIMode to True and locate ServiceURL
into UsingWebFlyPostBackManagerWithIntersoftControl.aspx.
- Expand FlyPostBackSettings and set the following properties.
|
PostControlState
|
True
|
|
PostHiddenFields
|
True
|
|
PostInputControls
|
True
|
|
PostViewState
|
True
|
- Add ISNet.WebUI.WebDesktop as reference and configure WebFlyPostbackManager
at server side.
using ISNet.WebUI.WebDesktop;

WebFlyPostBackListener listener = null;

protected void Page_Load(object sender, EventArgs e)
{
   listener = new WebFlyPostBackListener(this);
}
|
- Run the project.