

| Intersoft ClientUI 8 > ClientUI Application Development > Working with ClientUI Controls in Expression Blend Designer > Walkthrough: Add Button, Split Button and Dropdown to Tool Bar in Blend Designer |
This walkthrough shows how to add a variety of button types to UXToolBar using designer tools available in Expression Blend.
In this walkthrough, you perform the following tasks:
Create a new Silverlight project.
Add a new tool bar to the designer surface.
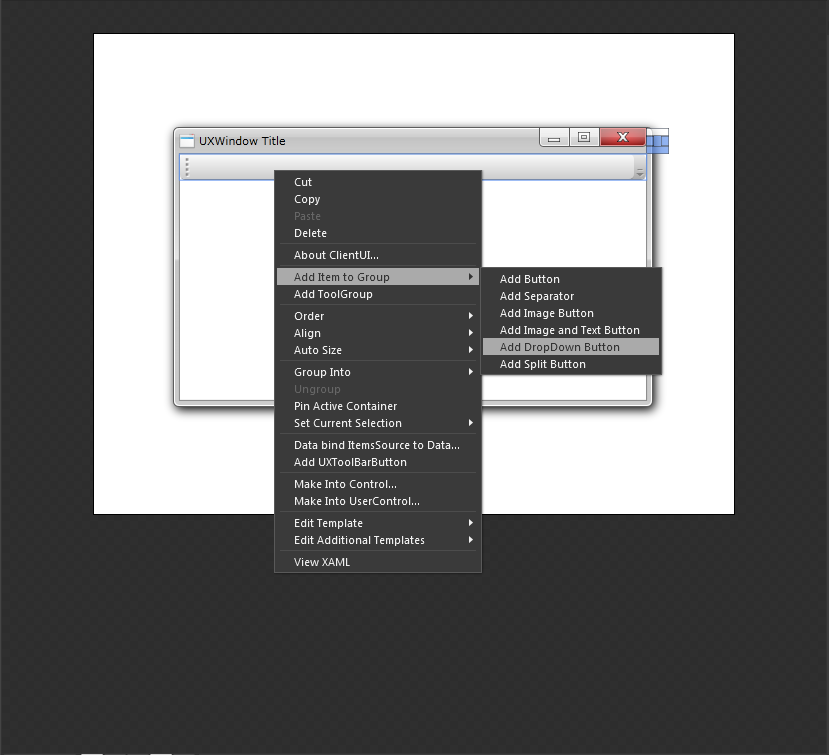
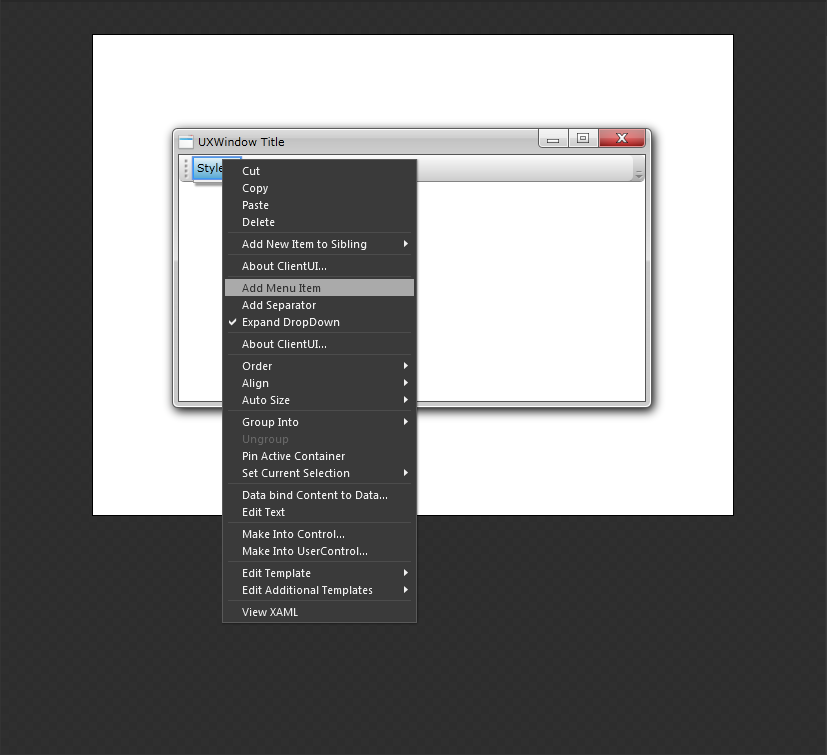
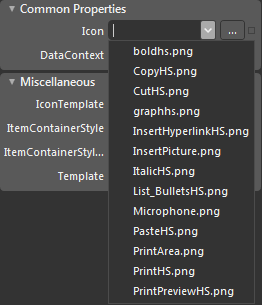
Add button, split button and dropdown button to the tool bar using Expression Blend designer.
You need the following components to complete this walkthrough:
Microsoft Expression Blend 4
Intersoft ClientUI
The first step is to create a new Silverlight Application and Website project in Microsoft Expression Blend 4.
Start Microsoft Expression Blend 4.
Create a new Silverlight project using the Silverlight Application + Website project template. Name the project as AddMenuItemAndSeparatorToMenuBarInBlendDesigner.
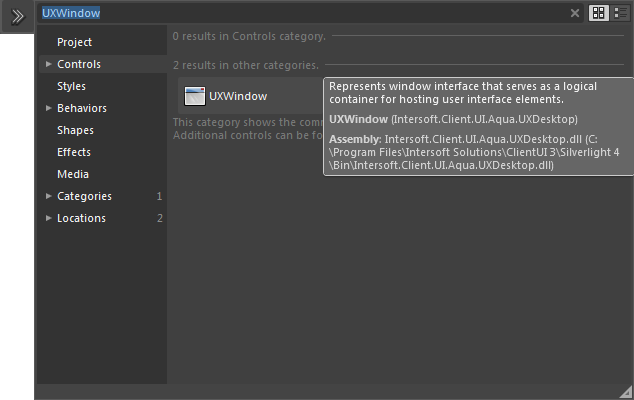

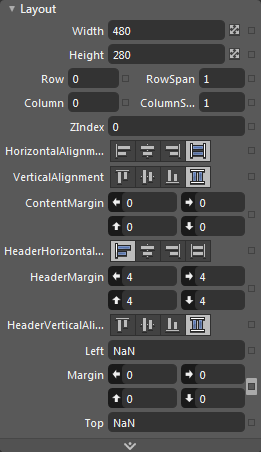
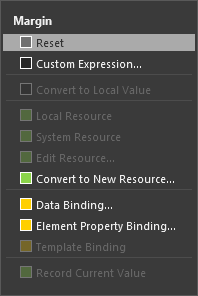

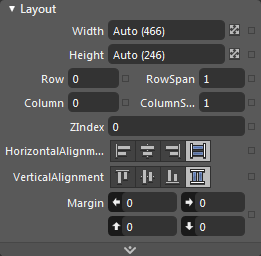


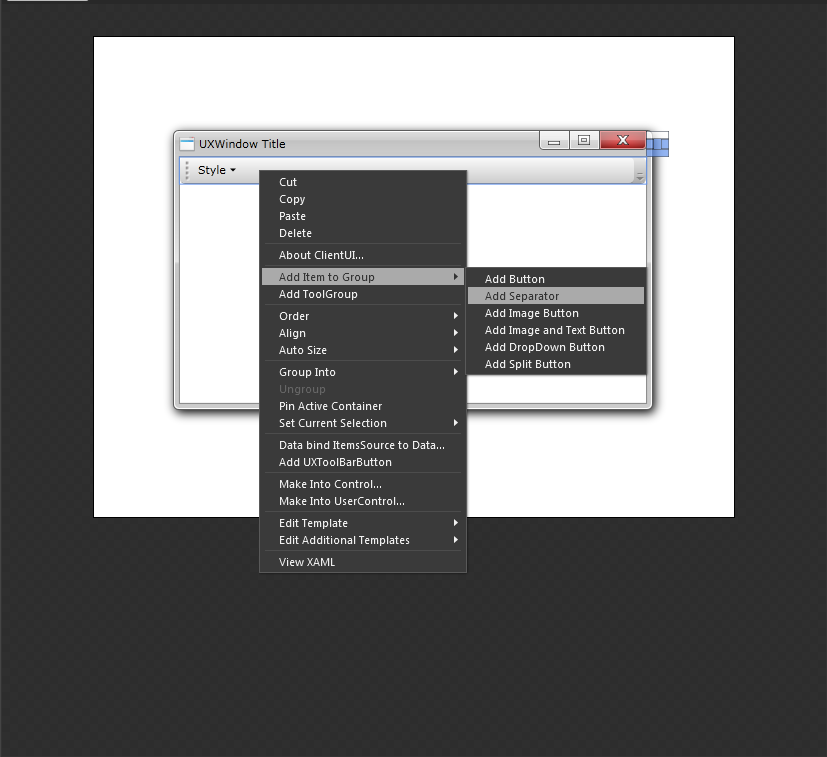
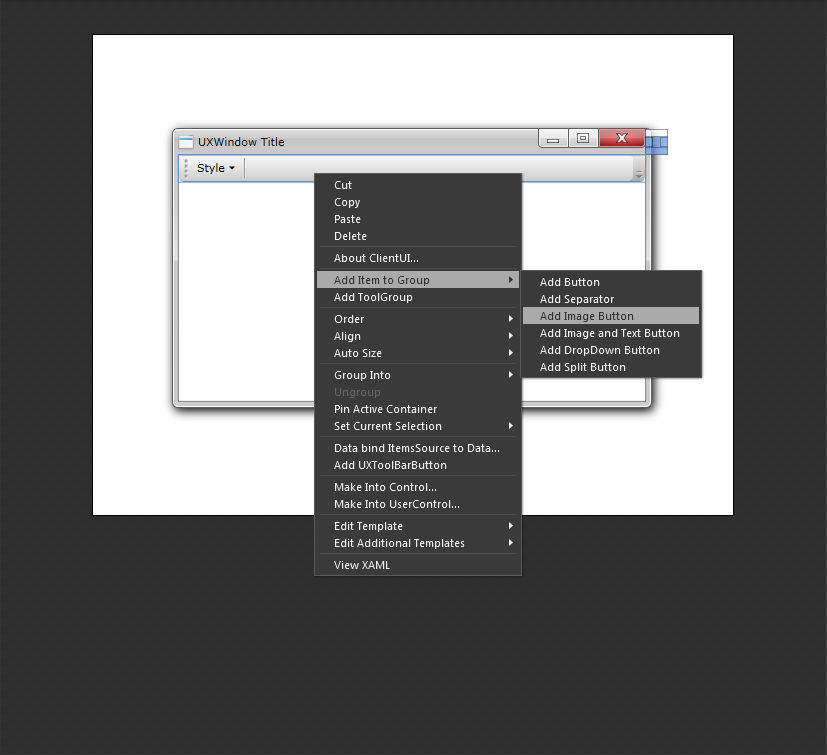
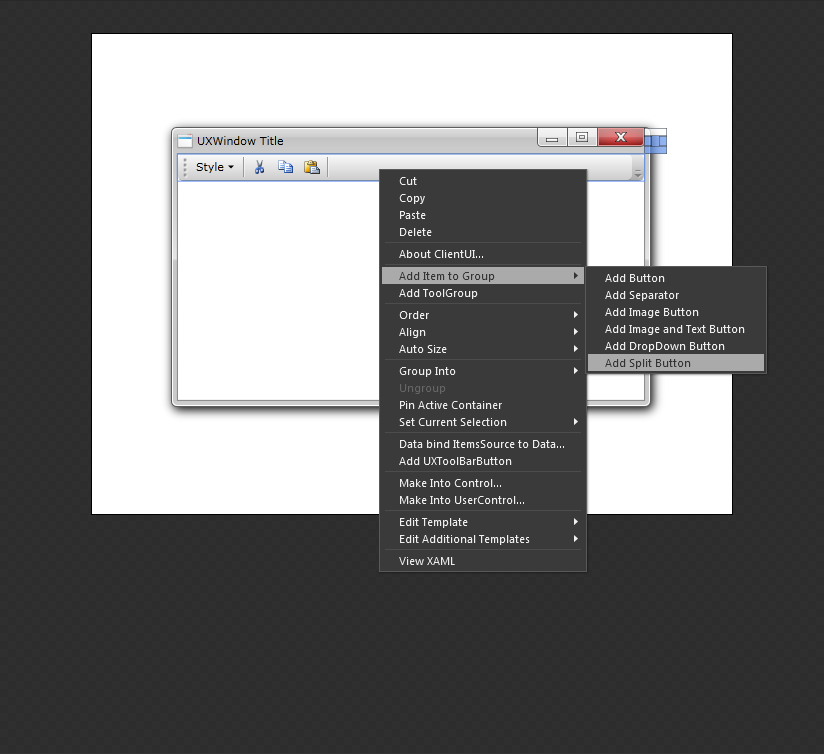
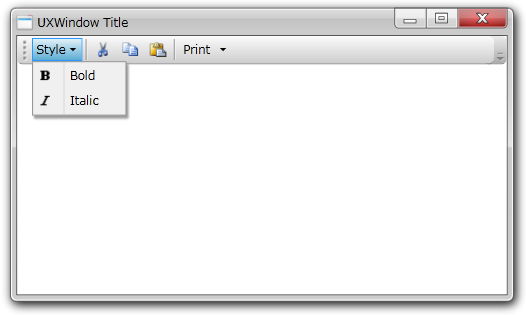
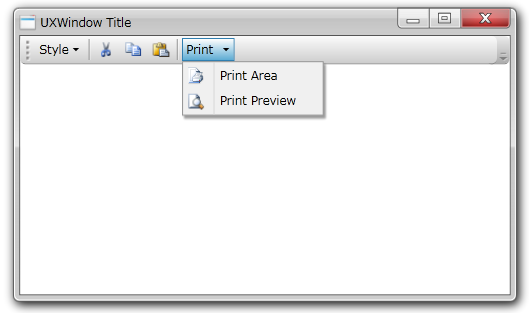
In this walkthrough, you have learned how to create the UXToolBar and add the UXToolBarButton and UXSeparator in Microsoft Expression Blend Designer.
| MainPage |
Copy Code
|
|---|---|
<UserControl xmlns="http://schemas.microsoft.com/winfx/2006/xaml/presentation" xmlns:x="http://schemas.microsoft.com/winfx/2006/xaml" xmlns:Intersoft="http://intersoft.clientui.com/schemas" x:Class="AddtoToolBar.MainPage" Width="640" Height="480"> <Grid x:Name="LayoutRoot" Background="White"> <Intersoft:UXWindow Header="UXWindow Title" IsClientVisible="True"> <Grid> <Intersoft:DockPanel> <Intersoft:UXToolBar Intersoft:DockPanel.Dock="Top"> <Intersoft:UXToolGroup> <Intersoft:UXToolBarButton Content="Style" ButtonType="DropdownButton"> <Intersoft:UXMenuItem Header="Bold" Icon="Assets/Images/boldhs.png"/> <Intersoft:UXMenuItem Header="Italic" Icon="Assets/Images/ItalicHS.png"/> </Intersoft:UXToolBarButton> <Intersoft:UXSeparator/> <Intersoft:UXToolBarButton Content="UXToolBarButton" DisplayMode="Image" Icon="Assets/Images/CutHS.png"/> <Intersoft:UXToolBarButton Content="UXToolBarButton" DisplayMode="Image" Icon="Assets/Images/CopyHS.png"/> <Intersoft:UXToolBarButton Content="UXToolBarButton" DisplayMode="Image" Icon="Assets/Images/PasteHS.png"/> <Intersoft:UXSeparator/> <Intersoft:UXToolBarButton ButtonType="SplitButton" Content="Print" Icon="Assets/Images/PrintHS.png" DisplayMode="ContentAndImage"> <Intersoft:UXMenuItem Header="Print Area" Icon="Assets/Images/PrintArea.png"/> <Intersoft:UXMenuItem Header="Print Preview" Icon="Assets/Images/PrintPreviewHS.png"/> </Intersoft:UXToolBarButton> </Intersoft:UXToolGroup> </Intersoft:UXToolBar> </Intersoft:DockPanel> </Grid> </Intersoft:UXWindow> </Grid> </UserControl> |
|