Intersoft ClientUI Documentation
Walkthrough: Create Auto-sizing Layout using Viewbox

| Intersoft ClientUI 8 > ClientUI Fundamentals > Panels Overview > Panel Walkthroughs > Walkthrough: Create Auto-sizing Layout using Viewbox |
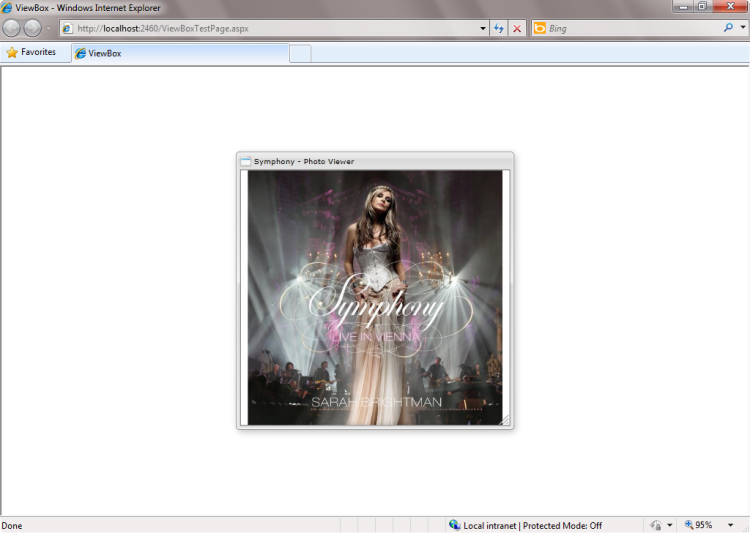
This walkthrough shows you to create auto-sizing layout using ViewBox.
In this walkthrough, you perform the following tasks:
You need the following components to complete this walkthrough:
The first step is to create a new ClientUI Application project using Intersoft ClientUI Application project template in Visual Studio.
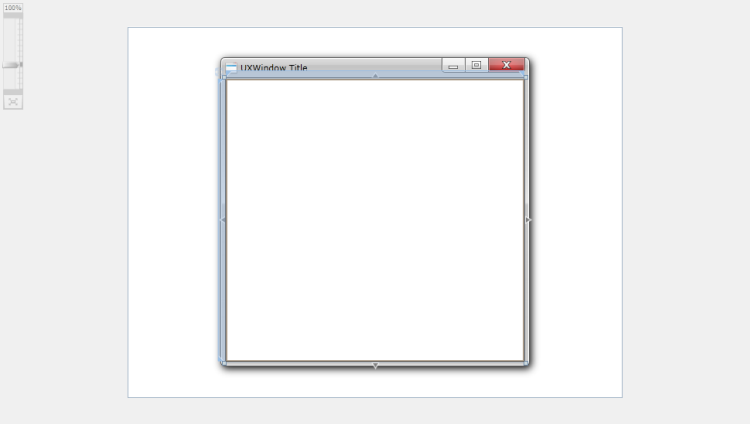
This section show how to create auto-sizing layout using Viewbox.
| Properties | Value |
| Header | Symphony - Photo Viewer |
| Width | 400 |
| Height | 400 |
| ControlBoxVisibility | Collapsed |
| CanMaximize | False |
| CanMinimize | False |
| CanClose | False |
| IsClientVisible | True |
| ResizeGripVisibility | Visible |
| XAML |
Copy Code
|
|---|---|
<Intersoft:UXWindow Header="Symphony - Photo Viewer" ... > <Intersoft:Viewbox Name="viewbox1" /> </Intersoft:UXWindow> |
|

| XAML |
Copy Code
|
|---|---|
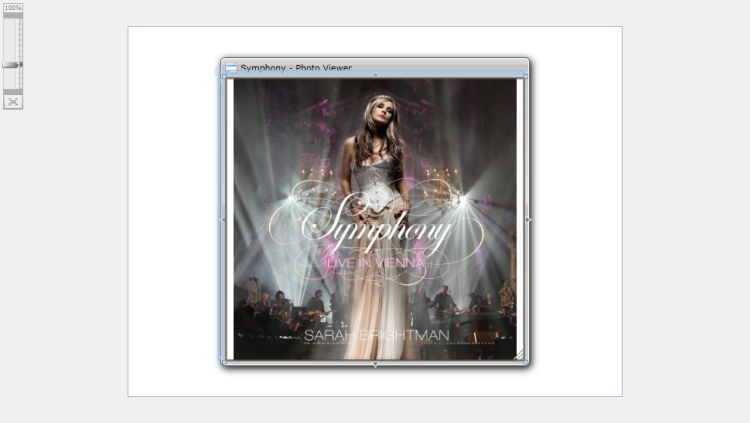
<Intersoft:Viewbox Name="viewbox1"> <Intersoft:ImageLoader Name="imageLoader1" ImageSource="/ViewBox;component/Assets/Images/1.jpg" /> </Intersoft:Viewbox> |
|


This section lists the complete code used in this walkthrough.
| XAML |
Copy Code
|
|---|---|
<Intersoft:UXPage xmlns="http://schemas.microsoft.com/winfx/2006/xaml/presentation" xmlns:x="http://schemas.microsoft.com/winfx/2006/xaml" xmlns:d="http://schemas.microsoft.com/expression/blend/2008" xmlns:mc="http://schemas.openxmlformats.org/markup-compatibility/2006" mc:Ignorable="d" xmlns:Intersoft="http://intersoft.clientui.com/schemas" x:Class="ViewBox.MainPage" Title="MainPage Page" d:DesignWidth="640" d:DesignHeight="480"> <Grid x:Name="LayoutRoot"> <Intersoft:UXWindow Header="Symphony - Photo Viewer" Name="uXWindow1" Width="400" Height="400" ControlBoxVisibility="Collapsed" CanMaximize="False" CanMinimize="False" CanClose="False" IsClientVisible="True" ResizeGripVisibility="Visible"> <Intersoft:Viewbox Name="viewbox1"> <Intersoft:ImageLoader Name="imageLoader1" ImageSource="/ViewBox;component/Assets/Images/1.jpg" /> </Intersoft:Viewbox> </Intersoft:UXWindow> </Grid> </Intersoft:UXPage> |
|