
| Intersoft ClientUI 8 > ClientUI Application Development > Working with ClientUI Controls in Expression Blend Designer > Walkthrough: Layout Using Dock Panel in Blend Designer |
DockPanel is a fundamental panel that provides four-side docking layout with one fill element. Unlike traditional DockPanel, Intersoft's DockPanel provides advanced fill docking feature in which the fill element can be any children element regardless of its logical order, thus allows more flexible UI layout and design.
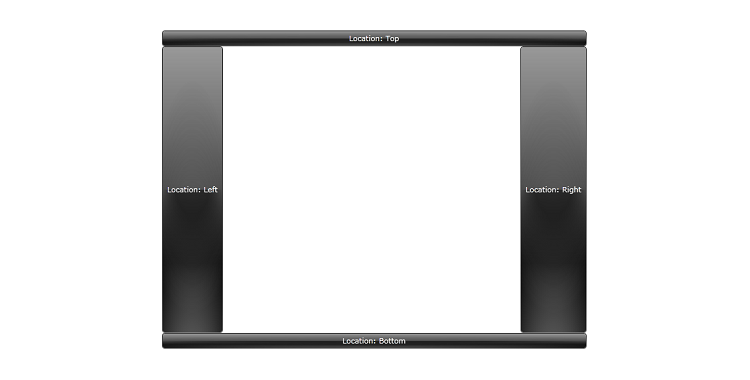
The simple sample presented in this walkthrough uses DockPanel to layout its visual element. Four GlassLabel controls will be placed into the Silverlight page and arrange the layout using DockPanel in Blend designer.
In this walkthrough, you perform the following tasks:
You need the following components to complete this walkthrough:
Visual Studio 2010
Silverlight 4 Tools for Visual Studio 2010
Intersoft ClientUI
The first step is to create an Intersoft ClientUI Application project. This section describes how to create new Intersoft ClientUI Application project template in Visual Studio.
Launch Microsoft Expression Blend 4.
Create a new Silverlight project using the Silverlight Application + Website project template. Named the project as LayoutUsingDockPanelInBlendDesigner.
DockPanel makes layout arranging in Microsofot Expression Blend design view becomes very easy. This section describes how to arrange layout using DockPanel in Blend designer.
With the MainPage.xaml open in design view of Microsoft Visual Studio 2010, add a DockPanel and set the value of Width property to 640px and set the Height property to 480px.
The following markup is added to XAML view.
| XAML |
Copy Code
|
|---|---|
<Grid x:Name="LayoutRoot"> <Intersoft:DockPanel Height="480" Name="dockPanel1" Width="640"> </Intersoft:DockPanel> </Grid> |
|
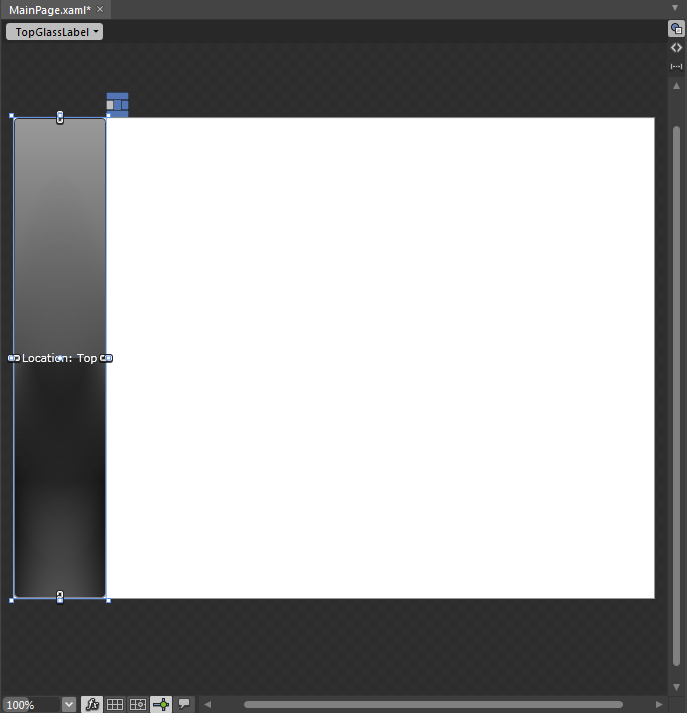
Add a GlassLabel into the DockPanel. Set the value of Name property to TopGlassLabel and Content to Location: Top.
The following markup is added to XAML view.
| XAML |
Copy Code
|
|---|---|
<Intersoft:DockPanel Height="480" Name="dockPanel1" Width="640"> <Intersoft:GlassLabel Content="Location: Top" Name="TopGlassLabel" /> </Intersoft:DockPanel> |
|

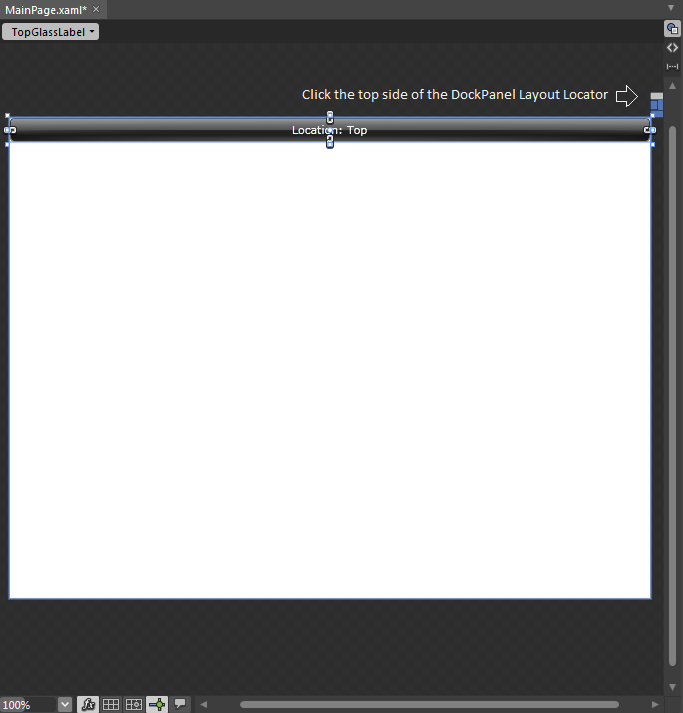
With the TopGlassLabel selected, click and select the top side of the DockPanel Layout Locator. The DockPanel Layout Locator is the little menu that located on the upper right of the GlassLabel control.
The following markup is added to XAML view.
| XAML |
Copy Code
|
|---|---|
<Intersoft:DockPanel Height="480" Name="dockPanel1" Width="640"> <Intersoft:GlassLabel Content="Location: Top" Name="TopGlassLabel" Intersoft:DockPanel.Dock="Top" /> </Intersoft:DockPanel> |
|

Alternatively, still with the TopGlassLabel selected, you can right-click and select Dock to top from the context menu to set the docking layout to top.
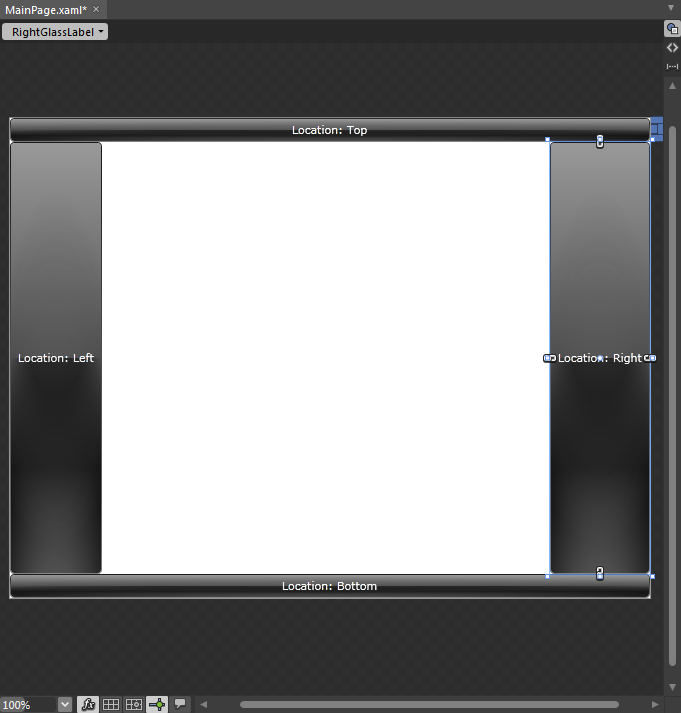
Repeat step #2 to add three more GlassLabel controls into the page. Set each value of Name property to DownGlassLabel, LeftGlassLabel, and RightGlassLabel respectively. Set the valueof Content property to the value that match with the Name property, for example: Location: Bottom, Location: Left, and Location: Right.
The following markup is added to XAML view.
| XAML |
Copy Code
|
|---|---|
<Intersoft:DockPanel Height="480" Name="dockPanel1" Width="640"> <Intersoft:GlassLabel Content="Location: Top" Name="TopGlassLabel" Intersoft:DockPanel.Dock="Top" /> <Intersoft:GlassLabel Content="Location: Bottom" Name="BottomGlassLabel" /> <Intersoft:GlassLabel Content="Location: Left" Name="LeftGlassLabel" /> <Intersoft:GlassLabel Content="Location: Right" Name="RightGlassLabel" /> </Intersoft:DockPanel> |
|
Repeat step #3 to set the newly added GlassLabel to bottom, left, and right.
The following markup is added to XAML view.
| XAML |
Copy Code
|
|---|---|
<Intersoft:DockPanel Height="480" Name="dockPanel1" Width="640"> <Intersoft:GlassLabel Content="Location: Top" Name="TopGlassLabel" Intersoft:DockPanel.Dock="Top" /> <Intersoft:GlassLabel Content="Location: Bottom" Name="BottomGlassLabel" Intersoft:DockPanel.Dock="Bottom" /> <Intersoft:GlassLabel Content="Location: Left" Name="LeftGlassLabel" Intersoft:DockPanel.Dock="Left" /> <Intersoft:GlassLabel Content="Location: Right" Name="RightGlassLabel" Intersoft:DockPanel.Dock="Right" /> </Intersoft:DockPanel> |
|

On the File menu, click Save All.
Run the application.
