This walkthrough shows you how to configure updatable WebGrid bound to ServerDataSource.
During this walkthrough, you will learn how to do the following:
- Use ISDataSource
- Use WebGrid designer to define BindingOperationMode property in WebGrid.
 Prerequisites
In order to complete this walkthrough, you will need the following:
- Access to the Microsoft Access Northwind database.
- Visual Studio 2008 Application.
Step-By-Step Instructions
To configure client binding using ServerDataSource mode
- Launch Visual Studio.NET 2008.
- Click on File menu, then select New and click Web Site.
- Select ASP.NET Web Site in the Template box and set Location to HTTP.
- Named the Web Site and click OK.
- Right-click on Project's name and select Add New Item.
- Select Intersoft AppForm in the My Templates box and named it as Walkthrough.aspx.
- Drag WebGrid and ISDataSource instances from ToolBar into WebForm.
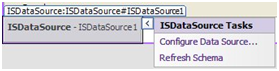
- Click the SmartTag on the upper right of the ISDataSource and click Configure Data Source...
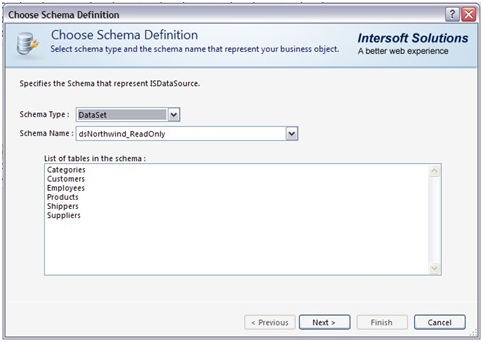
- Specifies the Schema Type and Schema Name that represent ISDataSource, and then click Next.
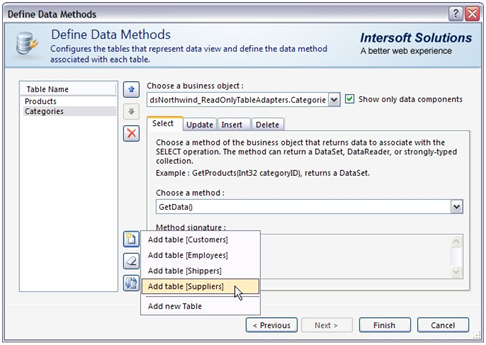
- Add TableName that represents ISDataSource, and choose Select, Update, Insert, and Delete for every table, and then press Finish.
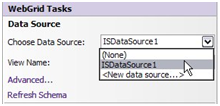
- Set Data Source ID property from WebGrid's smart tag.
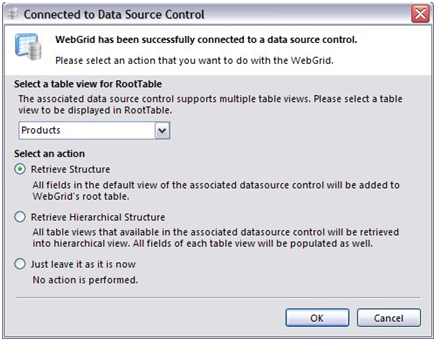
- Select a table view that will display as root table in WebGrid. And then select an action Retrieve Structure or if you use Hierarchical data structure you can choose Retrieve Hierarchical Structure.
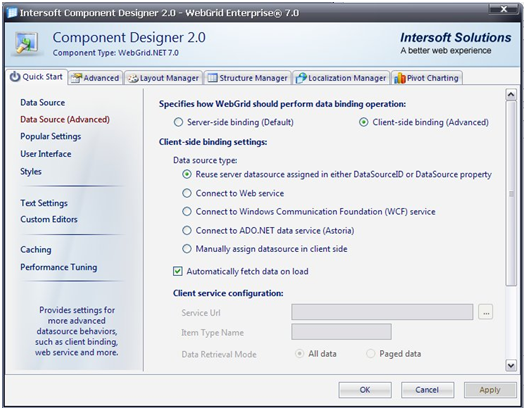
- Choose WebGrid Designer link on WebGrid's smart tag to open WebGrid Designer.
- Choose Data Source (Advance) link on Quick Start and choose Client-side Binding (Advance) for data binding operation.