


This walkthrough will guide you to enable transaction operations in WebGrid, such as adding, editing and deleting.
During this walkthrough, you will learn how to do the following:
- Configure the LINQ to SQL classes.
 Prerequisites
In order to complete this walkthrough, you will need the following:
- Visual Studio 2008 Application.
- Microsoft.NET Framework 3.5.
- Intersoft WebUI Studio.NET 2008 R2.
Step-By-Step Instructions
To create new web application and enable add, edit and delete
- You can choose to continue from Walkthrough: Enabling Sorting, Grouping and Filtering or Walkthrough: Enabling Paging.
- Select WebGrid, and open its smart tag designer.
- Simply check on Allow Add, Allow Edit and Allow Delete.
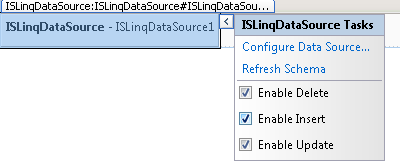
- Select ISLinqDataSource1, check on Enable Insert, Enable Update and Enable Delete. See below.
- You're all set - notice you haven't write any single line of codes so far.
- Save the WebForm and run it to browser.
- Try to edit a record, and press shift+enter to commit changes.
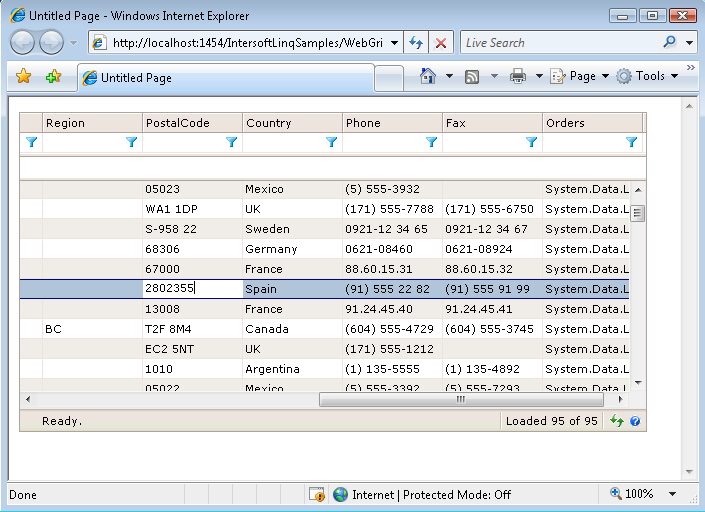
Notice that data transaction is completed in less than a second - no matter how large your data is, or how complex your data view is.