


This walkthrough will guide you to bind the WebGrid control to ISLinqDataSource.
During this walkthrough, you will learn how to do the following:
- Configure the LINQ to SQL classes.
 Prerequisites
In order to complete this walkthrough, you will need the following:
- Visual Studio 2005/2008/2010 Application.
- Microsoft.NET Framework 3.5.
- Intersoft WebUI Studio.NET 2009 R2 SP1.
Step-By-Step Instructions
To create new web application and bind WebGrid to ISLinqDataSource
- Create new WebForm from Intersoft Default Form template.
- Open the toolbox. Expand Intersoft WebUI Studio.NET 2008 R2 tab group. Drag WebGrid to the designer surface.
- Drag ISLinqDataSource to the designer surface. If you can't find ISLinqDataSource, please download ISLinqDataSource and save the assembly to [Program Files]\Intersoft Solutions\WebGrid 6.0\Bin. Then add it to Visual Studio toolbox by right clicking on the toolbox area and click Choose Items.
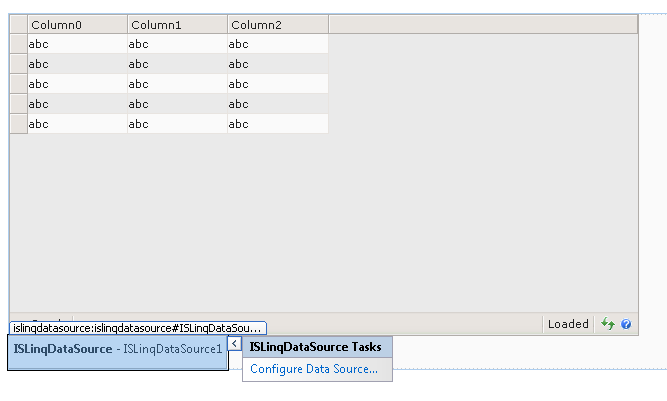
- Click Configure Datasource from the ISLinqDataSource smart tag. See below.
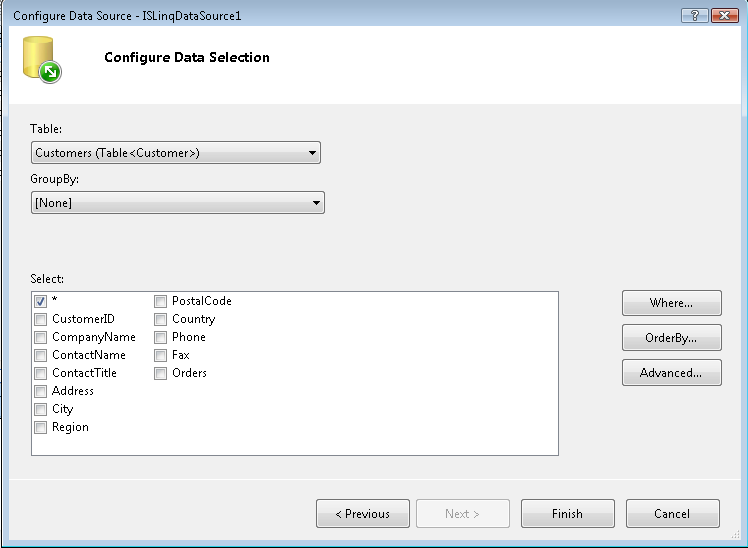
- The LinqDataSource Wizard is pretty simple and straightforward. On the first screen, it should already select NorthwindDataContext by default, so simply click Next.
- On the second screen, since we want to select all customer properties, we don't need to configure anything else, simply click Finish. See below.
- Select WebGrid instance and open its smart tag. Choose ISLinqDataSource1 as the DataSourceID, and the WebGrid wizard will appear such as shown below.
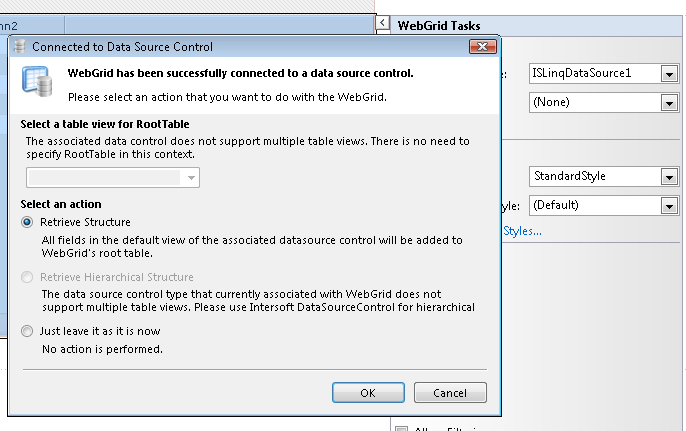
- Simply click OK as we want the WebGrid to retrieve the columns structure from the ISLinqDataSource.
- You're all set. Save the WebForm, and run the page in the browser.
- You have successfully bound a WebGrid control to LINQ-enabled datasource. Your browser should look like the image below.
