Objectives
This tutorial provides a step-by-step guidance on how to add new MenuItem via Client side.
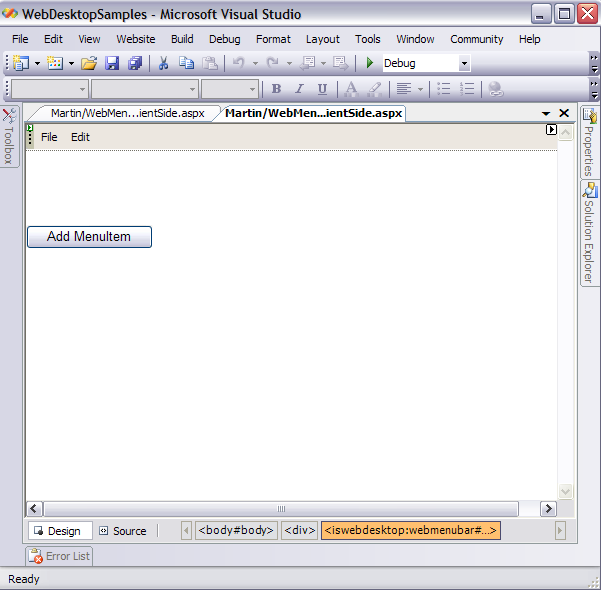
- Drag WebMenu and HTML Button from Toolbox into a WebForm page. Named the HTML button "Add MenuItem"
- Refer to Working with MenuItem Types Tutorial for configuring
MenuItems.
-
In the client-side, add the following codes:
Script  Copy Code
<script language="javascript" type="text/javascript">
function AddMenu()
{
   var menuBar = ISGetObject("WebMenuBar1");
   var menuItem1 = new WebMenuItem();
   var menuItem2 = new WebMenuItem();

   menuItem1.Name = "mnuSave";
   menuItem1.ImageURL = "../../images/save.gif";
   menuItem1.Text = "Save";
   menuItem1.Enabled = true;

   menuItem2.Name = "mnuSaveAll";
   menuItem2.ImageURL = "../../images/saveall.gif";
   menuItem2.Text = "Save All";
   menuItem2.Enabled = true;

   menuBar.Menus[0].Menu.Items.Add(menuItem1);
   menuBar.Menus[0].Menu.Items.Add(menuItem2);
   alert("MenuItem Save and SaveAll have been added");

   document.getElementById("Button1").disabled = "disabled";
}
</script>
- Invoke AddMenu() function from the HTML button's onclick event.
Script Copy Code<input id="Button1" type="button" value="Add MenuItem" onclick="AddMenu()"/>
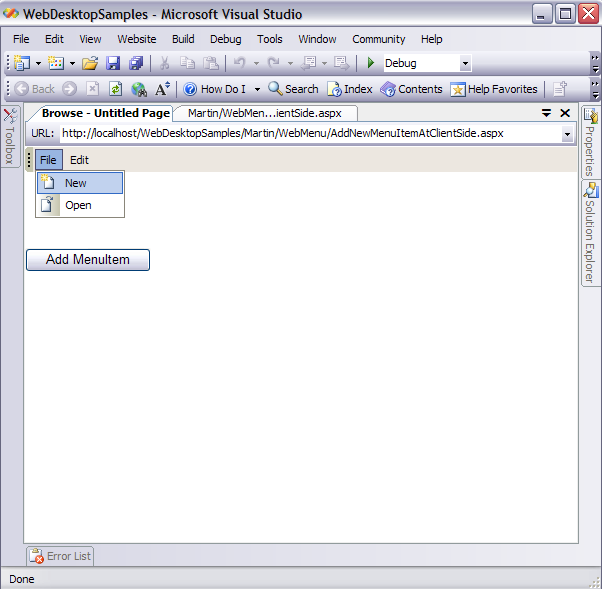
- Run the Project and you will notice that in the File Menu, there are only 2 MenuItems which are New
and Open.
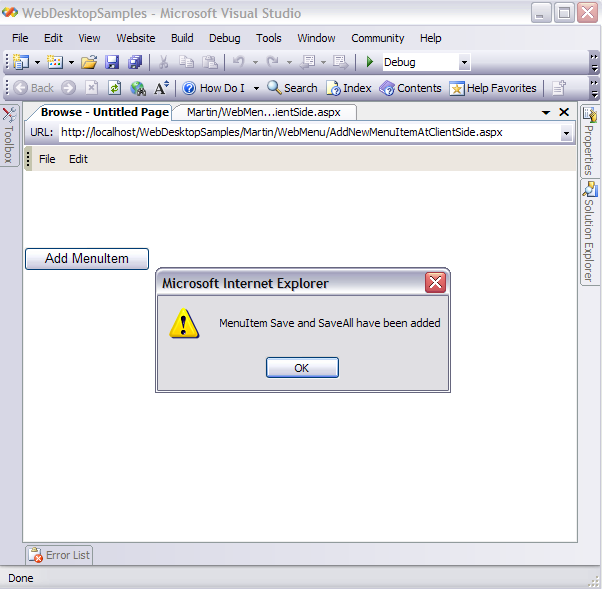
- Click the "Add MenuItem" button and it will display an Alert box.
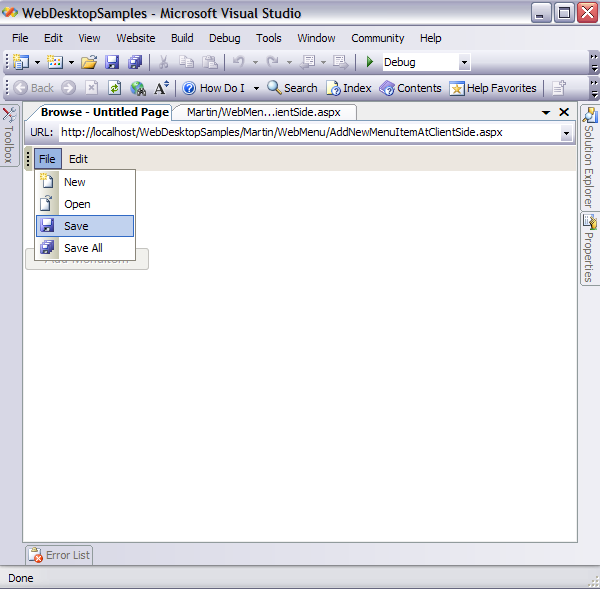
- Click the File Menu and you will see that MenuItems Save and Save all have been added, and "Add
MenuItem" button has been disabled.