Objectives
WebMenu gives you a flexibility to customize MenuItem where you can freely set MenuItem Collection to be enabled or disabled according to your needs. This tutorial will give a step-by-step guidance on how to enable and disable MenuItem using Designer, Server-Side Event, and Client-Side Event.
Using Designer
- Drag WebMenu from Toolbox into a WebForm page.
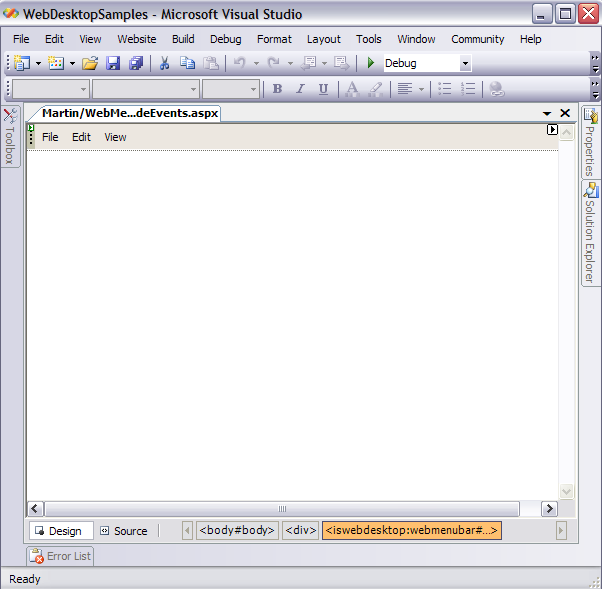
- Right-click on the MenuBar and choose WebMenuBar Designer. The designer box will appear as the following.
- Go to Menus and add menu commands as you desired.
- Set IsEnabled to false for cmdView menu command.
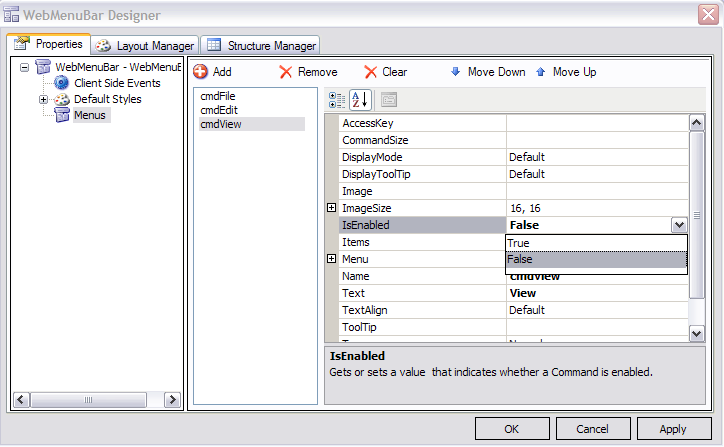
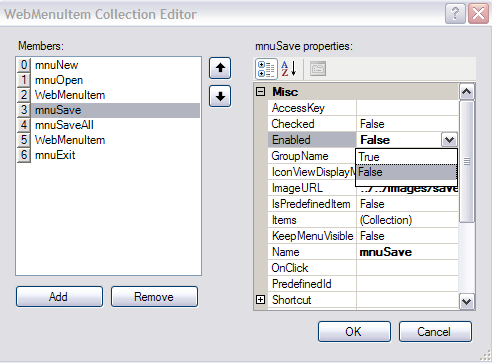
- In Items property on Menus node, click the Collection button. It will bring you to the WebMenuItem Collection Editor box.
- Again, you may freely customize menu commands item as you desired.

In Menu command Types, we have 8 different types of command, such as:
- Normal
- Button
- ToggleButton
- DropDownButton
- SplitButton
- Separator
- Custom
- Container -
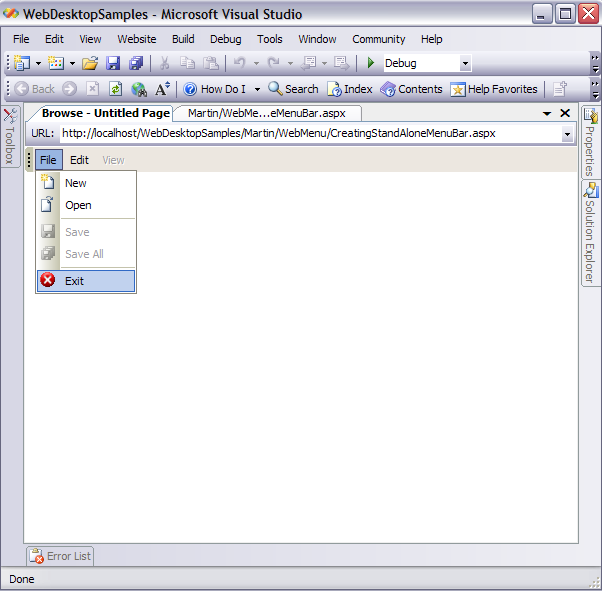
Set Enabled to false for mnuSave and mnuSaveAll MenuItem Collection commands.
- Run the Project and you will see something like following.
Using Server Side Event
- Drag WebMenu, Server Buttons, and Label from Toolbox into a WebForm page. Named the Server Buttons "MenuItem Enabled" and "MenuItem
Disabled" respectively.
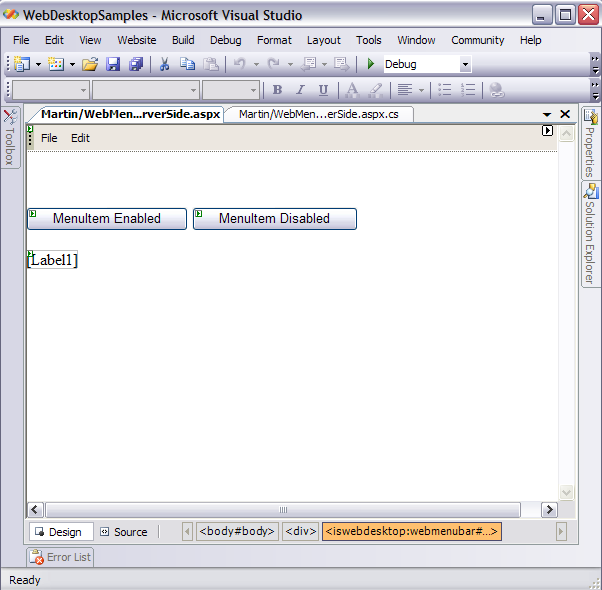
- Refer to Working with MenuItem Types Tutorial for configuring MenuItems.
-
In the Server-side or Code-behind, add the following codes:
C#  Copy Code
protected void Button1_Click(object sender, EventArgs e)
{
    WebMenuBar1.Menus[0].Items.GetNamedItem("mnuSave").Enabled = false;
    WebMenuBar1.Menus[0].Items.GetNamedItem("mnuSaveAll").Enabled = false;
    Label1.Text = "MenuItem Save and SaveAll have been disabled";
}
protected void Button2_Click(object sender, EventArgs e)
{
    WebMenuBar1.Menus[0].Items.GetNamedItem("mnuSave").Enabled = true;
    WebMenuBar1.Menus[0].Items.GetNamedItem("mnuSaveAll").Enabled = true;
    Label1.Text = "MenuItem Save and SaveAll have been enabled";
}
- Run the Project.
- Click the "MenuItem Enabled" Button. You will notice that the Label will display its text and when you click on the File Menu, MenuItems
Save and Save All have been enabled.

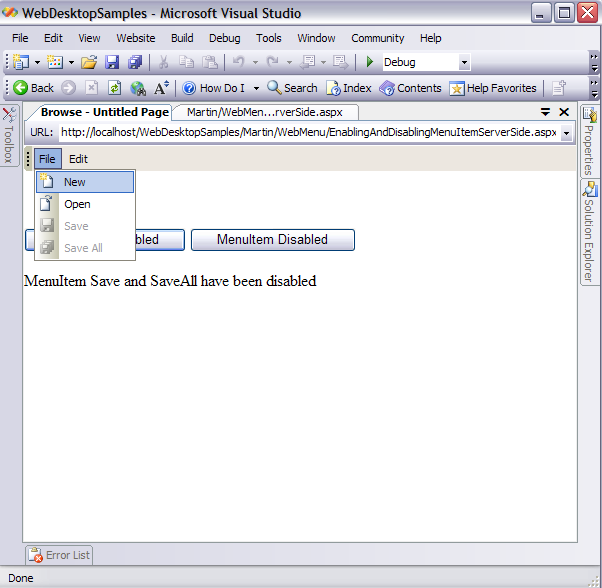
- Now, Click the "MenuItem Disabled" button and notice that the label will display its text, and when you click on the File Menu, MenuItems
Save and Save All have been disabled.
Using Client Side Event
- Drag WebMenu, HTML Buttons, and HTML Text from Toolbox into a WebForm page. Named the html Buttons "MenuItem Enabled" and "MenuItem
Disabled" respectively.
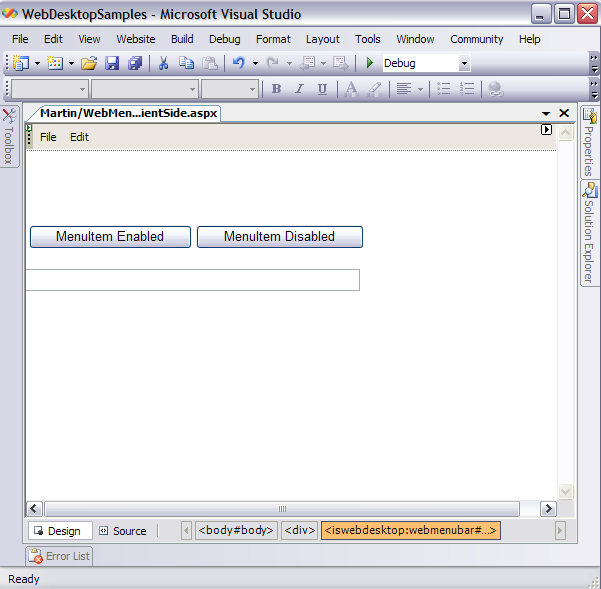
- Refer to Working with MenuItem Types Tutorial for configuring MenuItems.
-
In the Client-side, add the following codes:
Script Copy Code<script language="javascript">
function DisabledMenuItem()
{
var menuBar = ISGetObject("WebMenuBar1");
menuBar.Menus[0].Menu.Items[2].Disable();
menuBar.Menus[0].Menu.Items[3].Disable();
document.getElementById("Text1").value = "MenuItem Save and SaveAll have been disabled";
}function EnabledMenuItem()
{
var menuBar = ISGetObject("WebMenuBar1");
menuBar.Menus[0].Menu.Items[2].Enable();
menuBar.Menus[0].Menu.Items[3].Enable();
document.getElementById("Text1").value = "MenuItem Save and SaveAll have been enabled";
}
</script>
- Invoke EnabledMenuItem() and DisableMenuItem() functions from the HTML buttons' onclick event
respectively.
Script Copy Code<input id="Button2" type="button" value="MenuItem Enabled" onclick="EnabledMenuItem()"/>
<input id="Button1" type="button" value="MenuItem Disabled" onclick="DisabledMenuItem()"/>
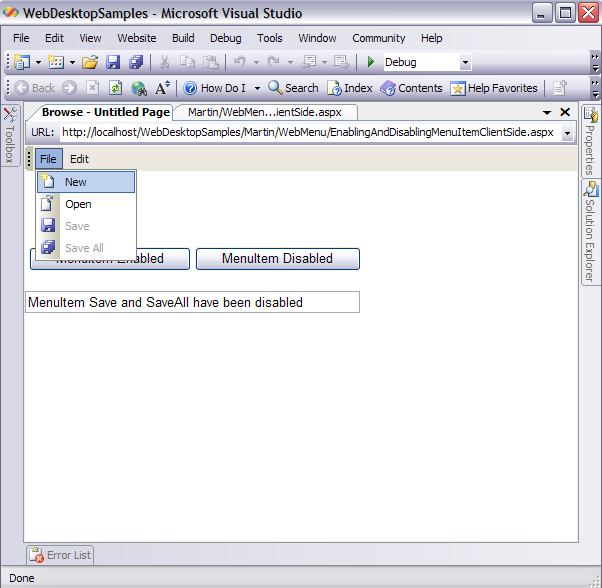
- Run the Project.
- Click the "MenuItem Enabled" HTML Button. You will notice that the HTML Text will display its value and when you click on the File Menu,
MenuItems Save and Save All have been enabled.

- Now, Click the "MenuItem Disabled" HTML button and notice that the HTML Text will display its value, and when you click on the File Menu, MenuItems
Save and Save All have been disabled.