Intersoft ClientUI Documentation
Walkthrough: Create New WPF Project from Project Templates

| Intersoft ClientUI 8 > Getting Started > Getting Started Walkthroughs > Walkthrough: Create New WPF Project from Project Templates |
This walkthrough shows you how to create a new WPF Intersoft ClientUI project using the available Intersoft ClientUI template. This walkthrough demonstrates the following concept:
You need the following components to complete this walkthrough:
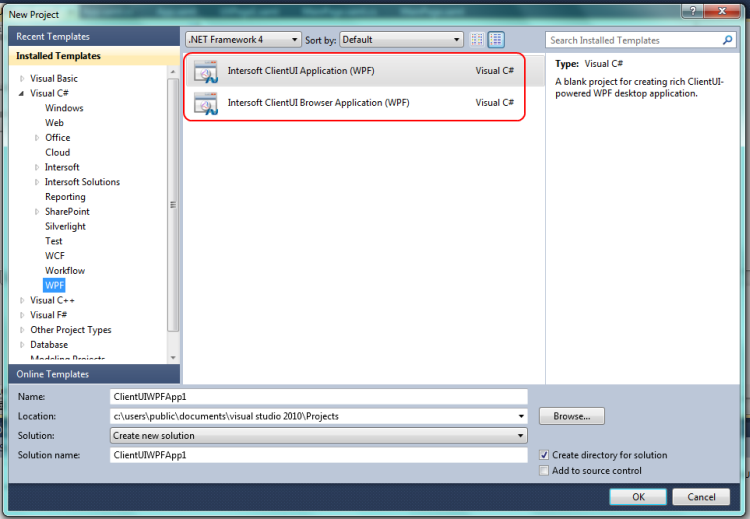
This section describes how to create new WPF Intersoft ClientUI project in Visual Studio using the available Intersoft ClientUI template. This walkthrough is using Visual C# template. However, ClientUI also provides the project templates in Visual Basic.
