Intersoft ClientUI Documentation
How-to: Customize Popup Effect in UXPopup

| Intersoft ClientUI 8 > ClientUI Controls > Control Library > Advanced Content Controls Overview > UXPopup > How-to: Customize Popup Effect in UXPopup |
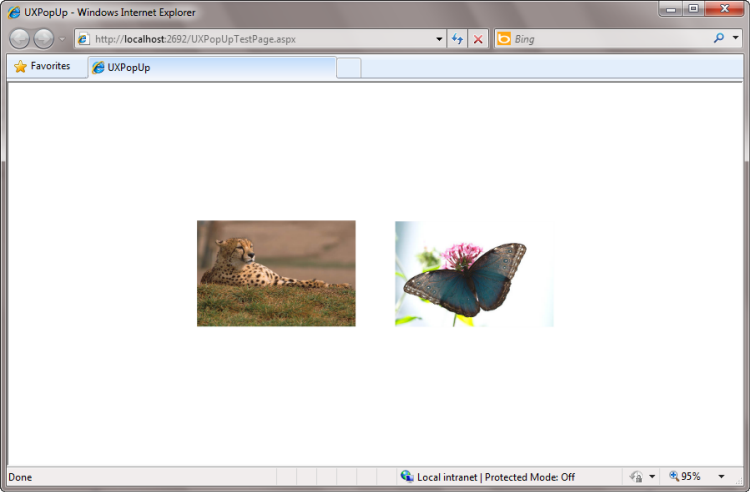
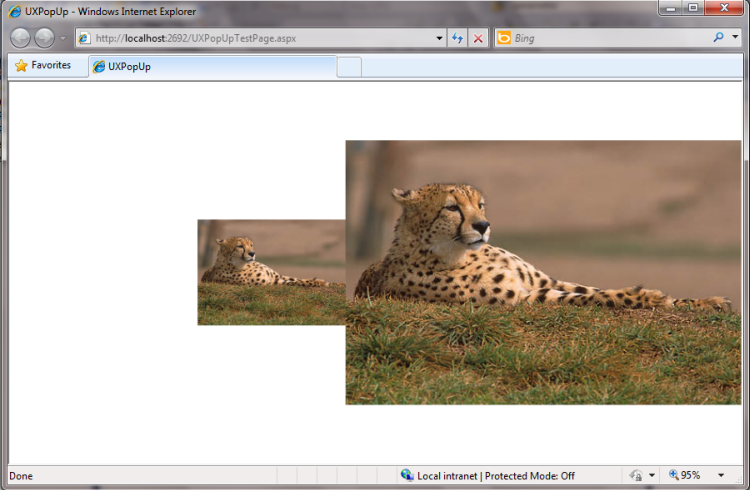
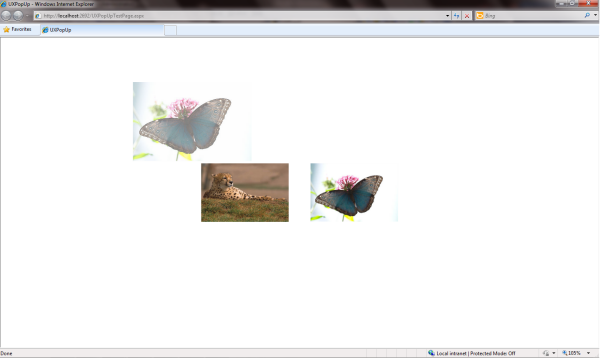
This example shows how to customize popup effect in UXPopup.
UXPopup is an advanced popup control with built-in animation and customizable position. You can put any content to be host in UXPopup and you can display it anywhere desired.
To learn more about UXPopup in details, see Popup Overview.
The following code shows how to customize popup effect in UXPopup.
With the following first image property:
| Property | Value |
|---|---|
| PreferredPosition | CenterParent |
| EnableFadeInAnimation | True |
| EnableFadeOutAnimation | True |
| DisplayAnimation | Zoom |
| HideAnimation | Fly |
| XAML |
Copy Code
|
|---|---|
<Grid x:Name="LayoutRoot"> <Intersoft:UXPopup Name="uXPopup1" MaxWidth="400" HorizontalAlignment="Left" VerticalAlignment="Top" PreferredPosition="CenterParent" EnableFadeInAnimation="True" EnableFadeOutAnimation="True" DisplayAnimation="Zoom" HideAnimation="Fly"> <Image Name="image1" Source="{Binding}" /> </Intersoft:UXPopup> <Intersoft:ImageLoader MaxWidth="200" ImageSource="/UXPopUp;component/Assets/Images/butterfly.jpg" Intersoft:UXPopup.TargetMouseEnterAction="ShowPopup" Intersoft:UXPopup.TargetMouseLeaveAction="HidePopup" VerticalAlignment="Center" HorizontalAlignment="Center" Intersoft:UXPopup.TargetPopup="{Binding ElementName=uXPopup1}" Intersoft:UXPopup.TargetDataContext="/UXPopUp;component/Assets/Images/butterfly.jpg" Margin="250,0,0,0" /> <Intersoft:ImageLoader MaxWidth="200" ImageSource="/UXPopUp;component/Assets/Images/cheetah.jpg" Intersoft:UXPopup.TargetMouseEnterAction="ShowPopup" Intersoft:UXPopup.TargetMouseLeaveAction="HidePopup" VerticalAlignment="Center" HorizontalAlignment="Center" Intersoft:UXPopup.TargetPopup="{Binding ElementName=uXPopup1}" Intersoft:UXPopup.TargetDataContext="/UXPopUp;component/Assets/Images/cheetah.jpg" Margin="0,0,250,0" /> </Grid> |
|


