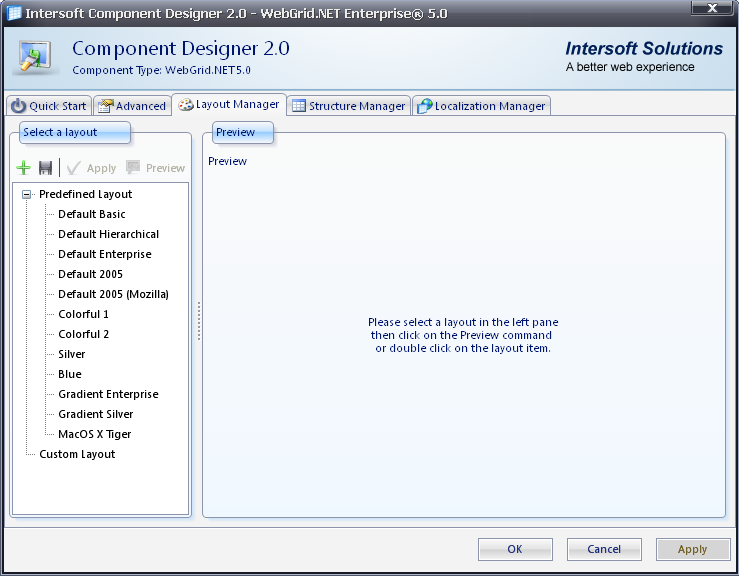
By default, WebGrid.NET is equipped with 12 predefined layouts, such as 'Default Basic', 'Default Hierarchical', 'Default Enterprise' etc.
Here are step-by-step procedures :
- In the Visual Studio .NET IDE, right-click an instance of WebGrid and choose WebGrid.NET Designer. Pay attention to the 5 sections at the top : "Quick Start", "Advanced", "Layout Manager", "Structure Manager" and "Localization Manager". When Layout Manager section is clicked, developers will be presented with below snapshot:

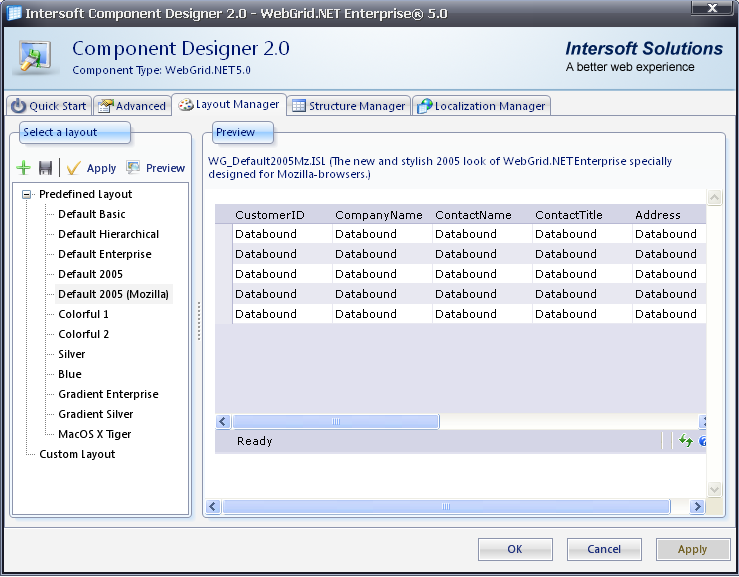
- When developers want to apply a predefined layout such as 'Default 2005 (Mozilla)', simply double-click that entry. The below snapshot shows the result :

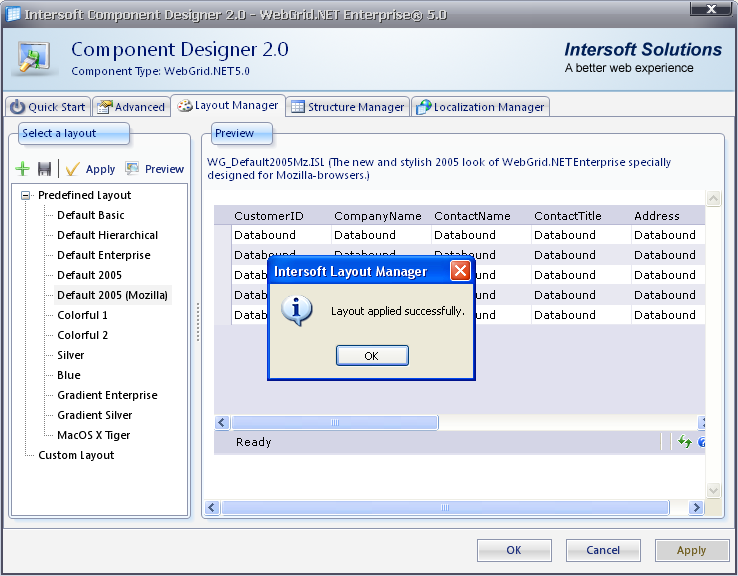
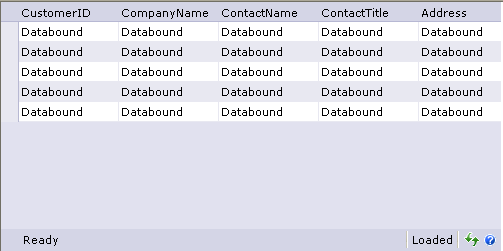
- Remember to click the 'Apply' button in order to apply the new predefined layout. When it is finished, the grid will show the following snapshot :

- Click the 'OK' button and in the Visual Studio .NET IDE, the grid layout will be changed into the new layout.

Overview
Getting Started
WebGrid Features Overview
Other Resources
Walkthrough Topics
How-to Topics


