


This topic provides a step-by-step instruction on how to manually add Intersoft products to Visual Studio Toolbox using Toolbox Utility tool.
To add Intersoft products to Visual Studio Toolbox
- Run Intersoft ToolBox Utility for Visual Studio from Start Menu >> All Programs >> Intersoft WebUI Studio 2010 R1 >> Intersoft ToolBox Utility for Visual Studio or you can access ToolBoxUtility.exe from [Installation Folder]\Intersoft Solutions\Intersoft WebUI Studio 2010 R1\ToolBoxUtility
- Select on the Visual Studio platform you want Intersoft products to be installed. By default, it will automatically select all Visual Studio versions installed on your PC.
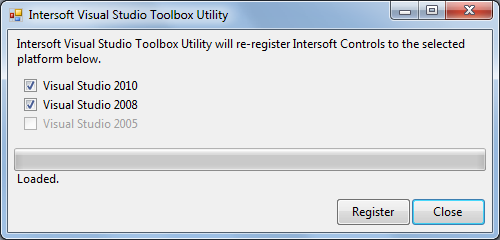
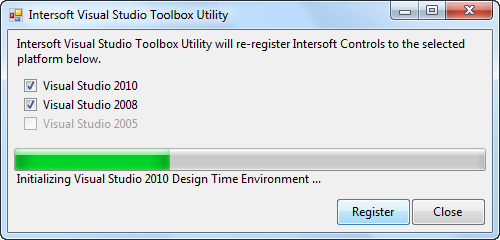
- Click Register to run the tool and wait until the process is finished.
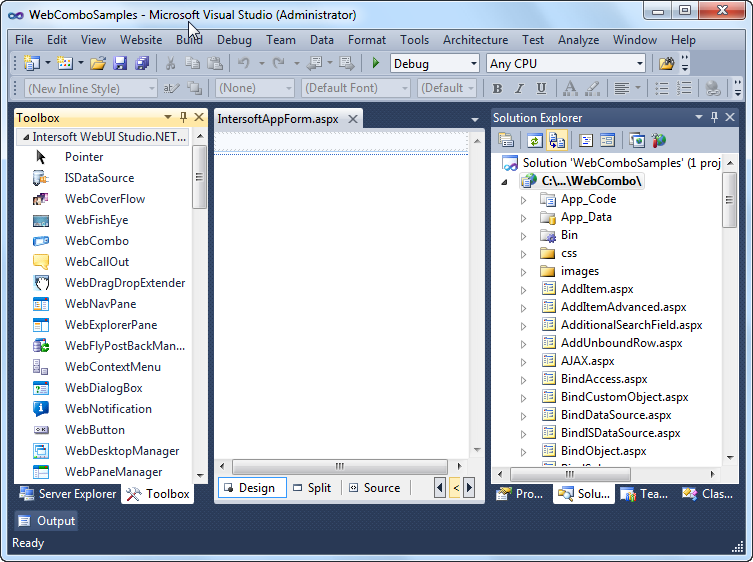
- Finally, open your project and you will notice that Intersoft products has been installed successfully into Visual Studio Toolbox.
 See Also
Overview
Getting Started
WebGrid Features Overview
Other Resources
Walkthrough Topics
How-to Topics