


Intersoft comes up with a new hassle-free Deployment Manager that is designated to help developers to easily manage configurations during deployment phase.
Now, you can quickly configure the common settings required in deployment such as entering runtime license keys, view state configurations and others through user-friendly Windows GUI application.
Using Deployment Manager
Here are the step-by-step instructions to use Deployment Manager:
- Open Deployment Manager from Start menu >> All Programs >> Intersoft WebUI Studio 2009 R1 >> WebUI Studio for ASP.NET >> Deployment Manager.
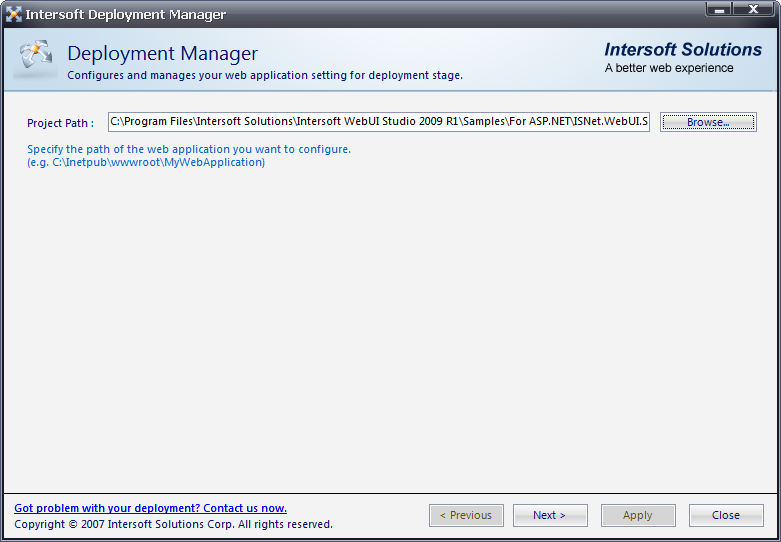
- Click Browse and select the project's directory of your web application to be configured. Click Next afterwards.
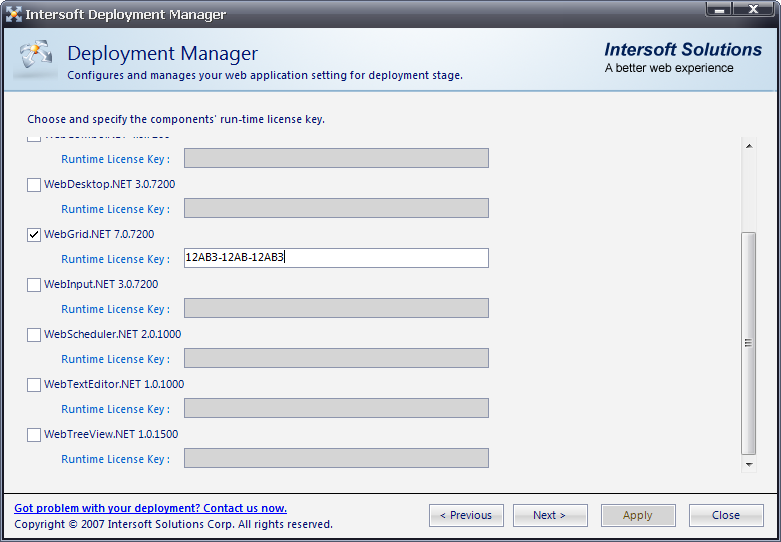
- Tick WebGrid.NET 7.0.7200 and put the Runtime License key according to the component. Click Next to proceed to the next step.
- In this step, there are many settings you can configure such as View State Storage, Optimization, Client Resources and Advanced sections.
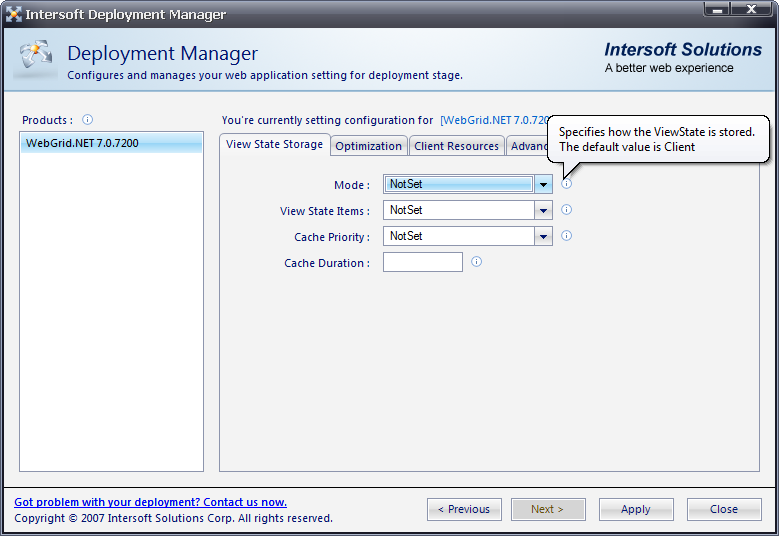
View State Storage Section
View State Storage section lets you configure how ViewState is stored, specify how ViewState items are going to be saved in ViewState and determine the priority and duration of items stored in Cache object.
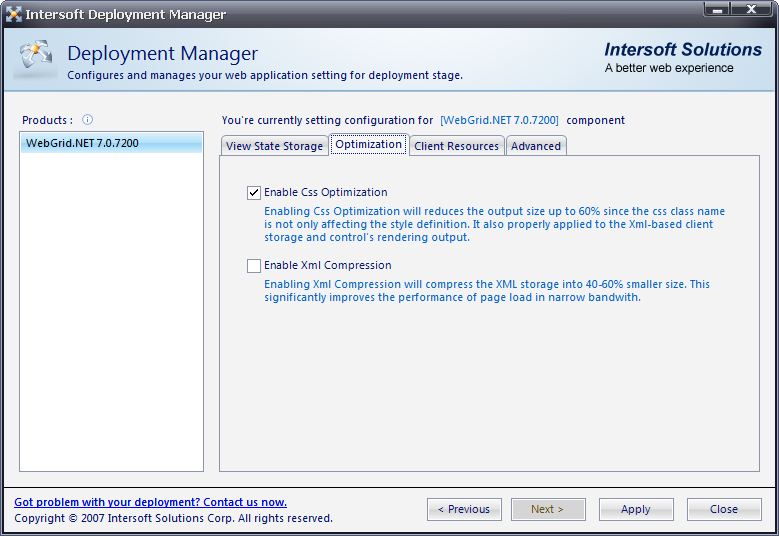
Optimization Section
Optimization section lets you choose whether to enable CSS Optimization and XML compression.
Client Resources Section
This section contains information on how to enable WebResources and set its mode.

If you have applied SmartWebResources™ in your project, this option will be automatically selected with its default mode set to Auto.

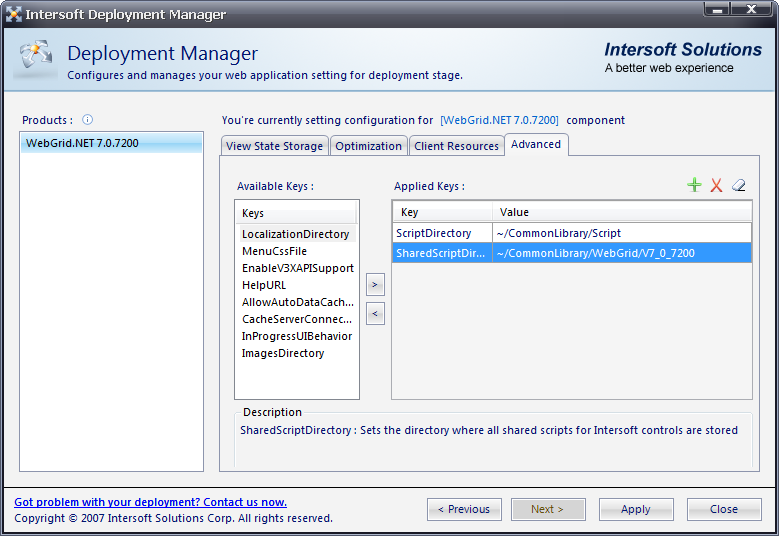
Advanced Section
Advances section allows you to add necessary keys such as SharedScriptDirectory, ImagesDirectory or custom keys.
In this section, you will learn how to assign the keys and values needed when you deploy the project.
- In Advances section, click the ">" sign to move the available keys to the applied keys.
- In Applied Keys table, Set the values like following:
Key Value ScriptDirectory ~/CommonLibrary/WebGrid/V7_0_7200/ SharedScriptDirectory ~/CommonLibrary/Shared/ ImagesDirectory ~/CommonLibrary/Images/
This section is very critical to be applied when you copy the CommonLibrary folder to the project's directory in development machine. However, if you have enabled SmartWebResources™, you no longer need to configure the directory settings.
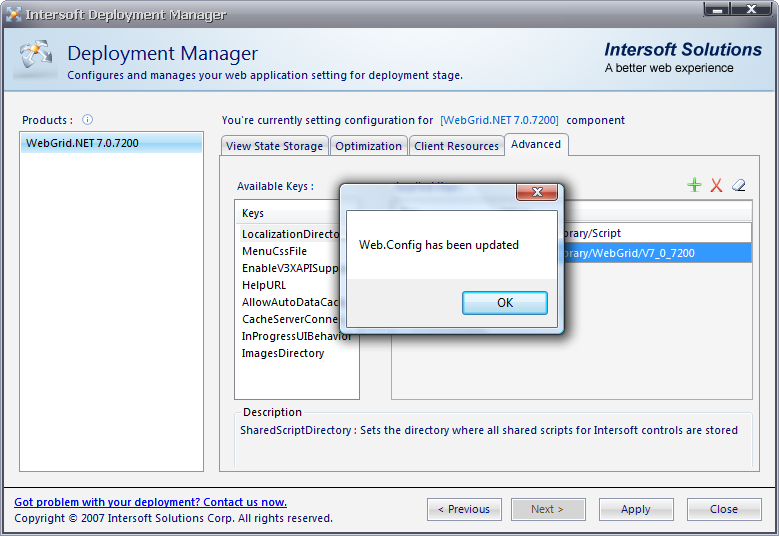
-
Click Next or Apply to save the configuration. Finally, the web.config has been updated successfully. Click Close to apply the settings.
 See Also
Overview
Getting Started
WebGrid Features Overview
Other Resources
Walkthrough Topics
How-to Topics