


Objectives
Creating complex layout is now simpler than ever. Knowing the limitations and complexity of layout relying solely on the tools provided in VS.NET, we decided to build an external designer solely to aid WebPaneManager users to design and layout conveniently.
-
Drag the WebPaneManager component from the Toolbox into the WebForm.
Remember to remove the DOCTYPE declaration and the html tag's xmlns attribute from the form before doing this.
-
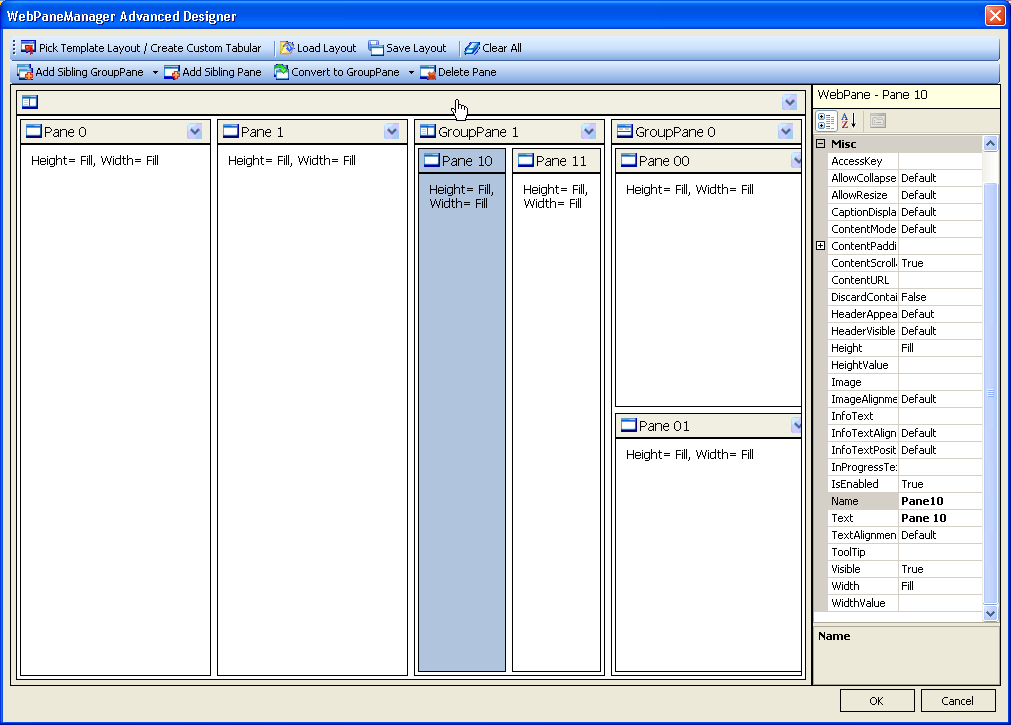
Right Click on a WebPaneManager instance and choose WebPaneManager Advanced Designer.
-
Use the toolbars on WebPaneManager Advanced Designer to create the layout. You can choose to add either GroupPane or a normal pane.

-
To create another GroupPane, click on the
 or if you would like to
create a sibling group pane, click on and choose whether you would like to create a vertical or horizontal sibling group pane. Your
decision on Vertical or Horizontal will control the layout inside that group pane.
or if you would like to
create a sibling group pane, click on and choose whether you would like to create a vertical or horizontal sibling group pane. Your
decision on Vertical or Horizontal will control the layout inside that group pane.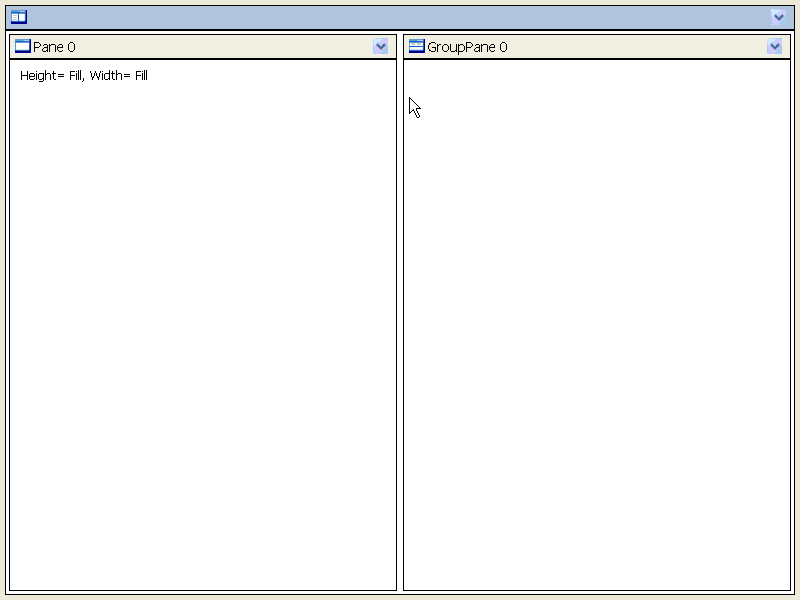
-
To create another normal Pane, click on the
 .
.
-
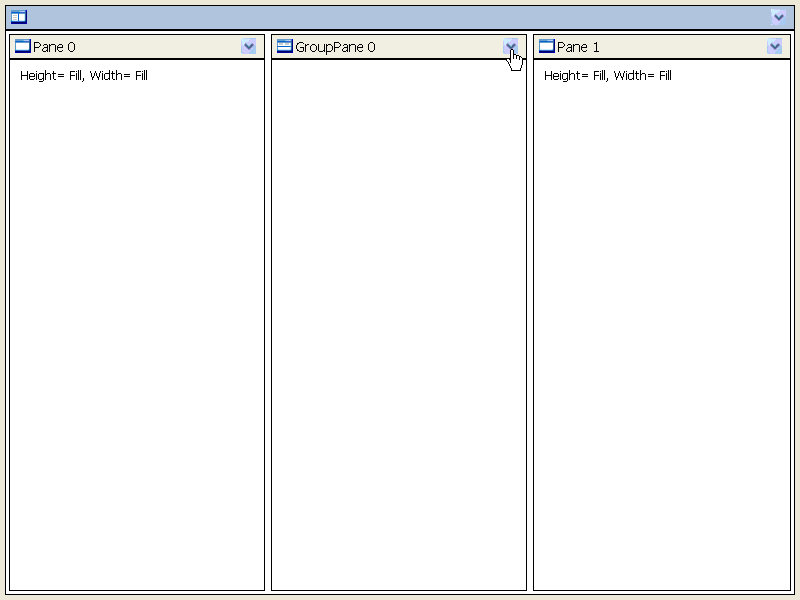
To create a sibling pane, simply click on the
 which would create another
equal size in the selected group pane.
which would create another
equal size in the selected group pane. -
You also can convert the normal pane become a GroupPane, by clicking on the normal pane that you would like to convert, then click on
 .
. -
Finally, you can create something like this with only clicking on the button.
-
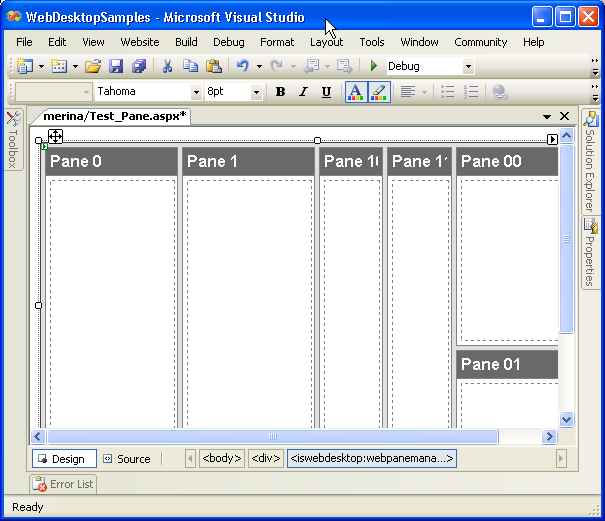
Once you satisfied with your design, you can click on "OK" to apply it.
-
To put any text or any control inside WebPaneManager, simply click on the area inside WebPane, and start edit it.
 |
About How to fully utilize the WebPaneManager external Editor you can refer to Working with PaneManager editor section. |
 See Also
Related Tutorials
{Creating Simple Layout}