


Objectives
Create and configure a new ISTheme project for a Web application. It is recommended to read the topic Using Project Editor before following this tutorial.
-
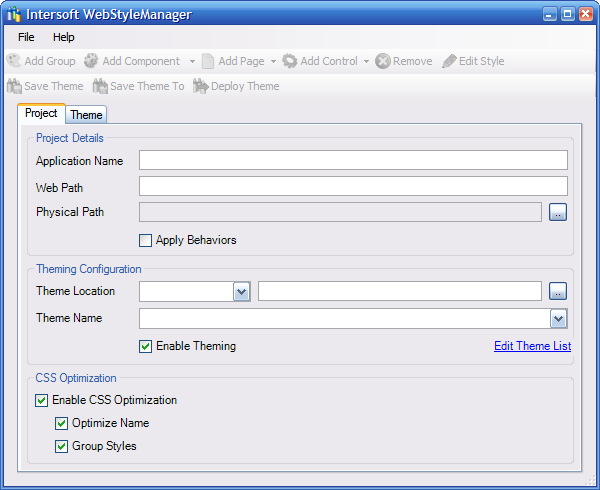
Open the WebStyleManager and click New Project from the File menu.
-
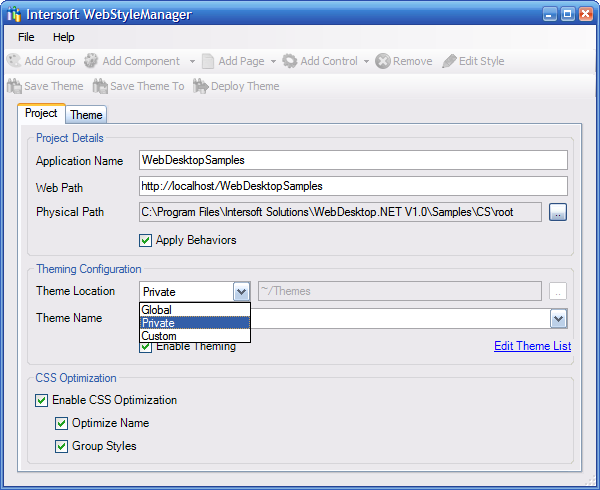
In this tutorial, the WebDesktopSamples will be used as a sample project. Next, fill in the fields of the WebStyleManager as shown below.
First, we put in the name of the Web application. Then, we specify the Web Path of the Web application. If you put in the correct Web path, the Physical Path will automatically be filled.
Please see Using Project Editor for more information about the purpose of each field here.
-
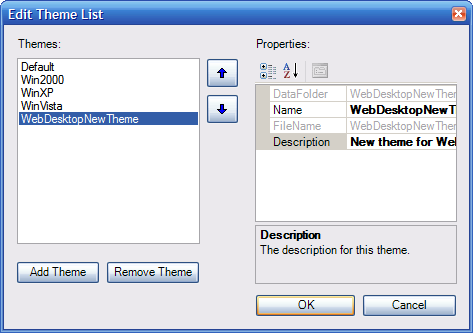
Click the Edit Theme List link to edit the theme list and the Theme List Editor will be shown.
Click the Add Theme button and enter WebDesktopNewTheme for the new theme. After you finish adding the new theme, click OK to save the list.
-
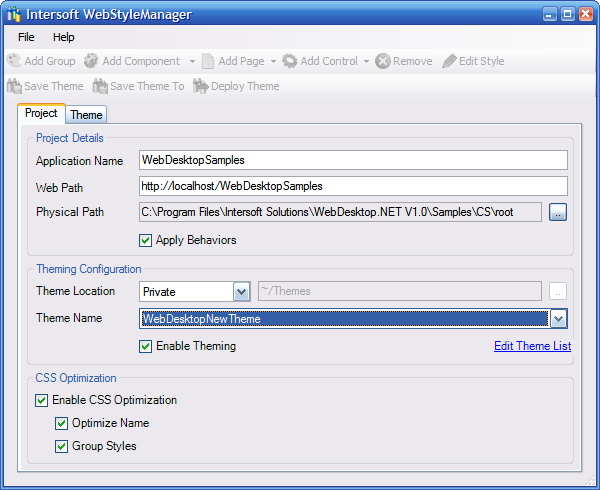
Now the name of the new theme we defined in the Theme List Editor should be available in the Theme Name DropDownList. Select WebDeskotpNewTheme from the Theme Name.
-
Select Enable Theming checkbox to use theme for this Web application.
-
Select all Checkboxes that are available in the CSS Optimization group.
-
At this point we are ready to proceed to the next tutorial, that is Creating New Theme.