This walkthrough shows you how to implement custom paging using ObjectDataSource.
During this walkthrough, you will learn how to do the following:
- Use ObjectDataSource.
- Use SmartTag to set DataSource.
- Use Data Source Configuration Wizard to set the Database and table.
 Prerequisites
In order to complete this walkthrough, you will need the following:
- Set EnablePaging od the datasource control to True.
- Provides a method for Select. This method requires three parameters: startRow, maximumRows, and sortExpression.
- Provides a method for SelectCount.
- Visual Studio 2005 Application.
Step-By-Step Instructions
To create new web application and bind WebGrid to AccessDataSource
- Launch Visual Studio.NET 2005.
- Click on File menu, then select New and click Web Site.
- Select ASP.NET Web Site in the Template box and set Location to HTTP.
- Named the Web Site and click OK.
- Right-click on Project's name and select Add New Item.
- Select Intersoft AppForm in the My Templates box and named it as Walkthrough.aspx.
- Right-click on Project's name and select Add New Item.
- Choose DataSet and named it NorthWind.
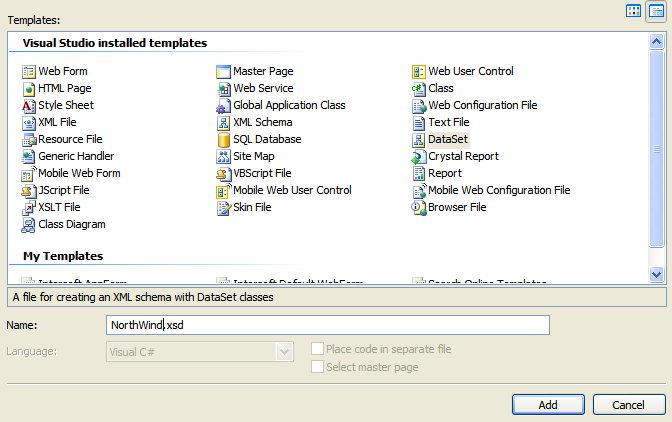
- Add Customers table to the dataset.

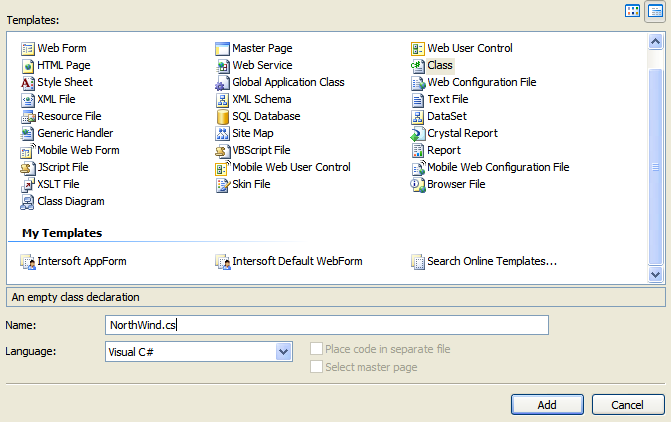
- Right-click on Project's name and select Add New Item.
- Choose Class and named it NorthWind.
- Create Select method and SelectCount in the class (NorthWind.cs).
C#  Copy Code
namespace NorthWindTableAdapters
{
    public partial class CustomersTableAdapter
    {
        public DataTable GetData(int startRowIndex, int maximumRows, string sortExpression)
        {
            NorthWind.CustomersDataTable dt = new NorthWind.CustomersDataTable();
int topRows = startRowIndex + maximumRows;if (!string.IsNullOrEmpty(sortExpression))
sortExpression = " order by " + sortExpression;OleDbDataAdapter adapter = new OleDbDataAdapter();
adapter.SelectCommand = new OleDbCommand();
adapter.SelectCommand.CommandText = "Select TOP " + topRows.ToString() + " * FROM Customers" + sortExpression;
adapter.SelectCommand.Connection = this.Connection;adapter.Fill(dt);return dt;
}
public int SelectCount(string sortExpression)
{
this.Connection.Open();
OleDbDataAdapter adapter = new OleDbDataAdapter();
adapter.SelectCommand = new OleDbCommand();
adapter.SelectCommand.CommandText = "Select COUNT(*) From Customers";
adapter.SelectCommand.Connection = this.Connection;int result = (int)adapter.SelectCommand.ExecuteScalar();
this.Connection.Close();return result;
}
}
}
- Drag WebGrid instance from ToolBar to WebForm.
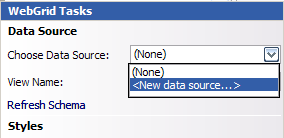
- Click the SmartTag on the upper right of the WebGrid.
- In Choose Data Source field, choose <New data source...>.
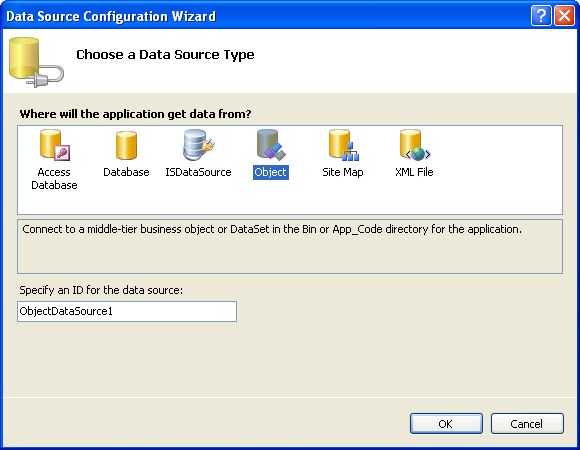
- In Data Source Configuration Wizard, choose Object and click OK.
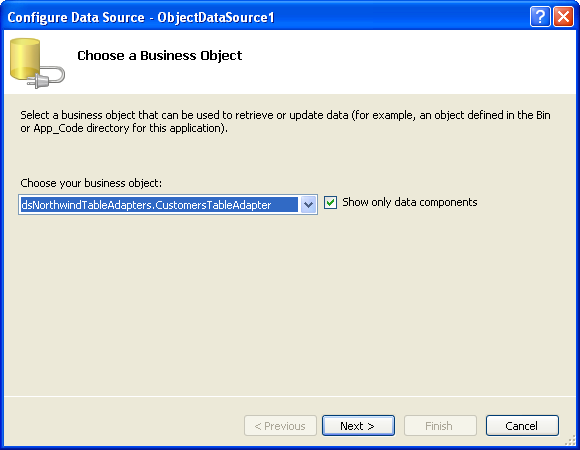
- Select your Business Object and click Next.
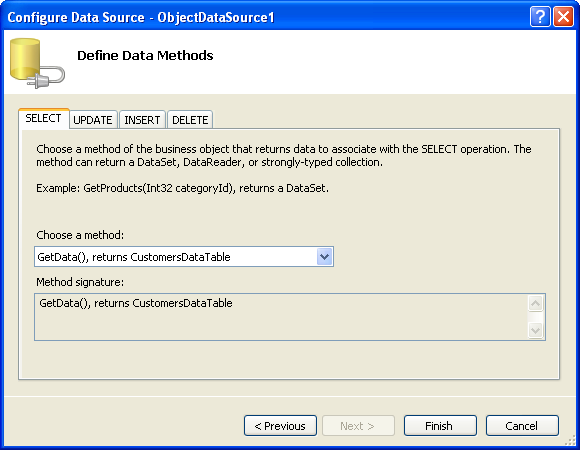
- Click Finish afterwards.
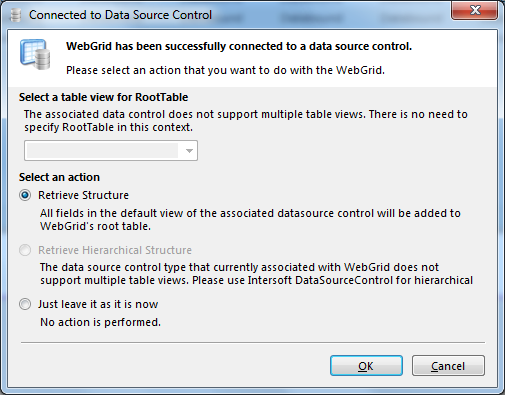
- Finally, choose Retrieve Structure action in Connected to Data Source Control Wizard and click OK.
- Set the WebGrid's properties as following:
Property Value PagingLoadMode Custom PagingMode ClassicPaging PagingStyleUI Slider
- Set the ObjectDataSource's properties as following:
Property Value EnablePaging True SelectCountMethod SelectCount
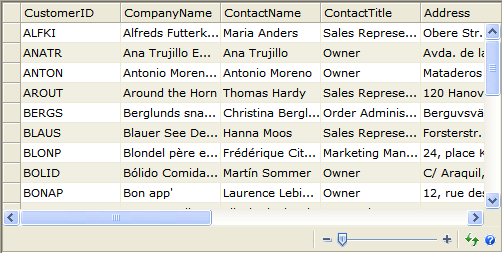
- Run the project and the WebGrid will look like following.