


Objectives
This tutorial shows how to configure expand and collapse ExplorerPane. By default, the ExplorerBar will be expanded. Therefore, you need to modify the property by setting Collapse to true for instance.
- Refer to Creating Simple ExplorerPane to create a basic ExplorerPane.
- Add 2 HTML buttons and named them "Expand Picture Tasks" and "Collapse File and Folder" Tasks respectively.
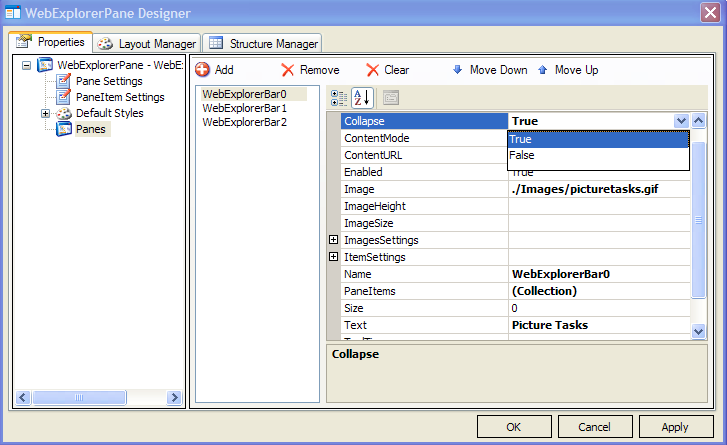
- Right-click on the WebExplorerPane and choose WebExplorerPane Designer.
- Go to Panes and choose WebExplorerBar0. Set Collapse to True.
- Add the following code in the client-side:
Script  Copy Code
<script language="javascript">
function DoExpand()
{
    var expPane = ISGetObject("WebExplorerPane1");
    var pane = expPane.Panes.GetNamedItem("WebExplorerBar0");
    pane.DoExpand();
}
function DoCollapse()
{
var expPane = ISGetObject("WebExplorerPane1");
var pane = expPane.Panes.GetNamedItem("WebExplorerBar1");
pane.DoCollapse();
}
</script>
- Invoke DoExpand() and DoCollapse() functions in onclick event respectively like the following:
Script Copy Code<input id="Button1" type="button" value="Expand Picture Tasks " onclick="DoExpand()"/>
<input id="Button2" type="button" value="Collapse File and Folder Tasks" onclick="DoCollapse()"/>
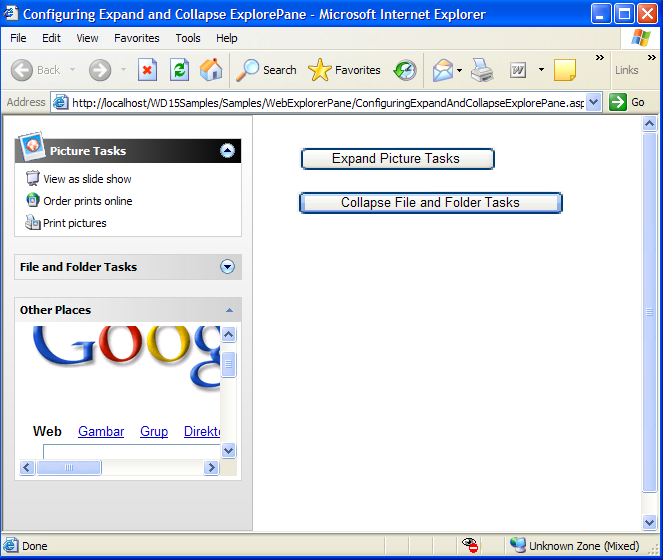
- Run the project and you will see something like following:
 See Also
Related Tutorials
Creating Simple ExplorerPane
Handling Client Side Events