Objectives
Create a simple dialog box using Intersoft WebDialogBox with using some key features such as ClickAndEdit, CommandButtons, DialogResult, Predefined DialogBoxImage.
Following are the steps to create a simple dialog box:
- Drag WebDialogBox to WebForm (It doesn't matter where you place it because it would be hidden during runtime).
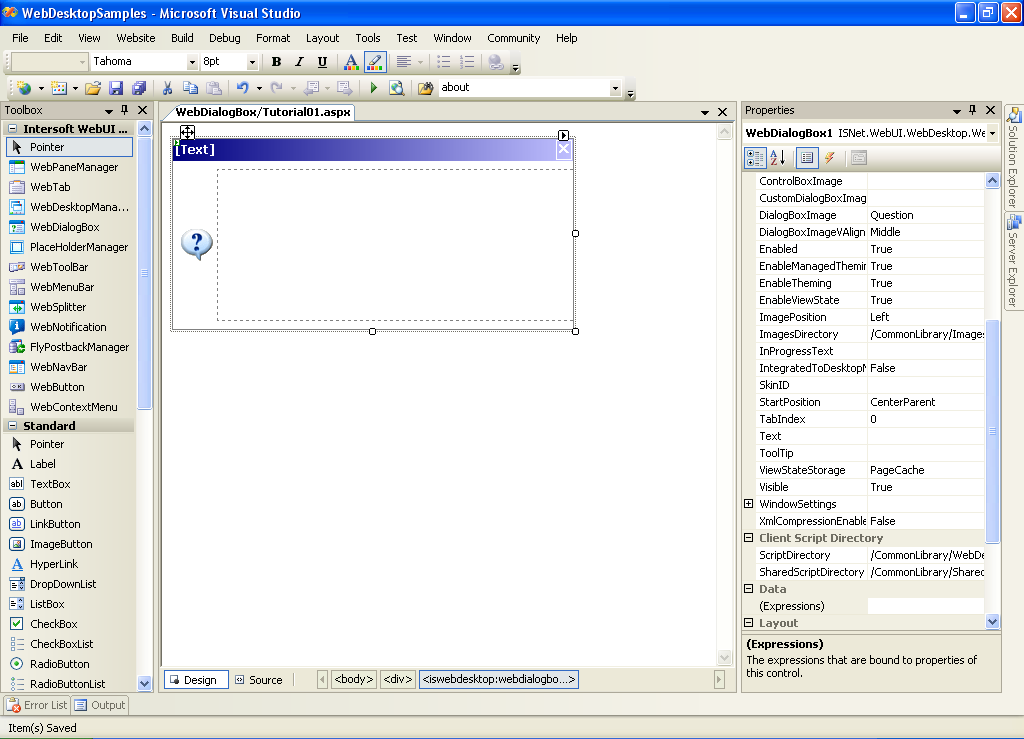
- To insert / change the content of WebDialogBox you can simply left-click the box marked with dashed border, and make any changes there.
Alternatively, you can use HTML Definition to modify the content by inserting the HTML Code in "Source" Mode.
Script  Copy Code
<ISWebDesktop:WebDialogBox ID="WebDialogBox1"
runat="server" Height="150px" Width="400px">
...
<ContentTemplate>
<div>
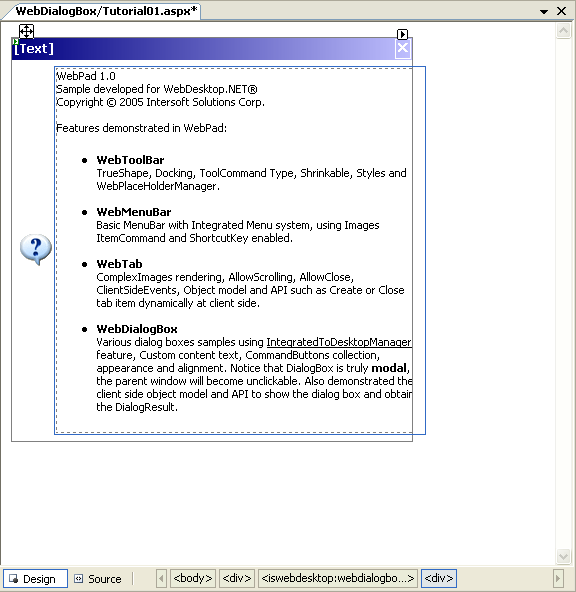
WebPad 1.0 <br/>
Sample developed for WebDesktop.NET® <br/>
Copyright © 2005 Intersoft Solutions Corp. <br/>
<br/>
Features demonstrated in WebPad:<br/>
<ul>
<li>
<strong>WebToolBar</strong> <br/>
TrueShape, Docking, ToolCommand Type, Shrinkable,
Styles and WebPlaceHolderManager.<br/>
</li>
<li>
<strong>WebMenuBar</strong> <br/>
Basic MenuBar with Integrated Menu system,
using Images ItemCommand and ShortcutKey enabled.<br/>
</li>
<li>
<strong>WebTab</strong> <br/>
ComplexImages rendering, AllowScrolling,
AllowClose, ClientSideEvents, Object model
and API such as Create or Close tab item
dynamically at client side. <br/>
</li>
<li>
<strong>WebDialogBox</strong> <br/>
Various dialog boxes samples using
<span style="text-decoration: underline">
IntegratedToDesktopManager
</span>
feature, Custom content text, CommandButtons collection,
appearance and alignment. Notice that DialogBox is truly
<strong>modal</strong>,
the parent window will become unclick able.
Also demonstrated the client side object model
and API to show the dialog box and obtain the DialogResult.
</li>
</ul>
</div>
</ContentTemplate>
</ISWebDesktop:WebDialogBox>
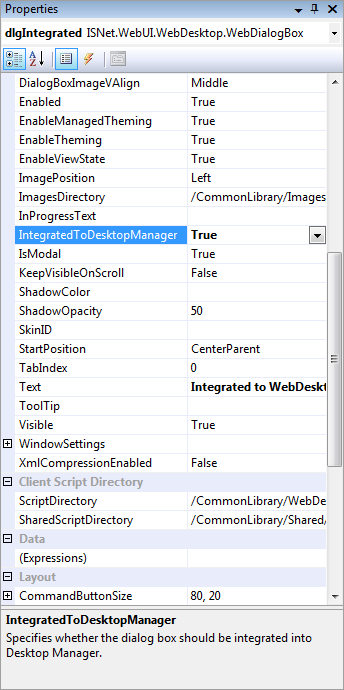
- By default, WebDialogBox uses a QuestionMark image on the left part. To change this image, you can select one of our predefined image or leave it
"NotSet" in DialogBoxImage property.
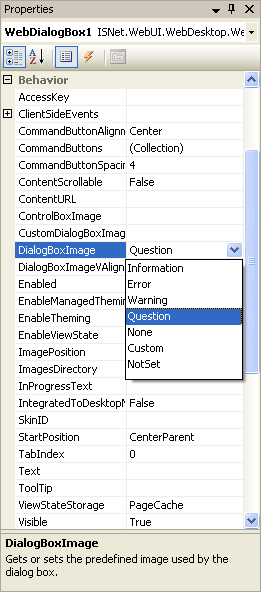
The following images are the predefined DialogBox images that we provide:


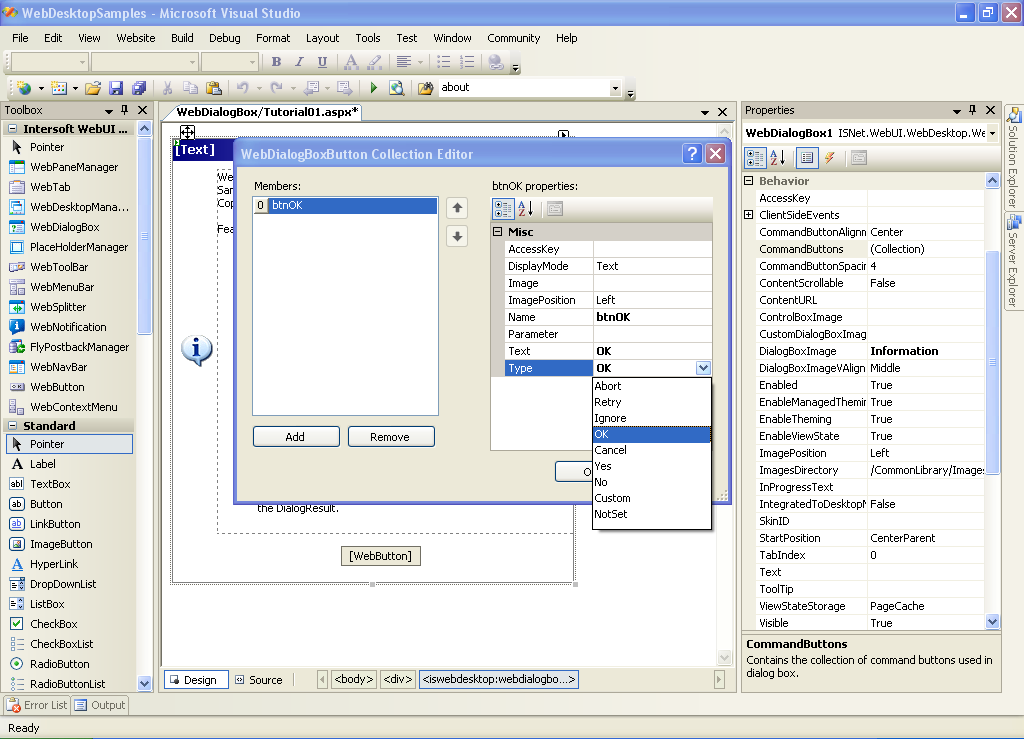
- We can also put some buttons in WebDialogBox, the same as what common DialogBox has. To insert a button or collection of buttons, open
"WebDialogBox Buttons Collection Editor" by clicking the CommandButtons property.
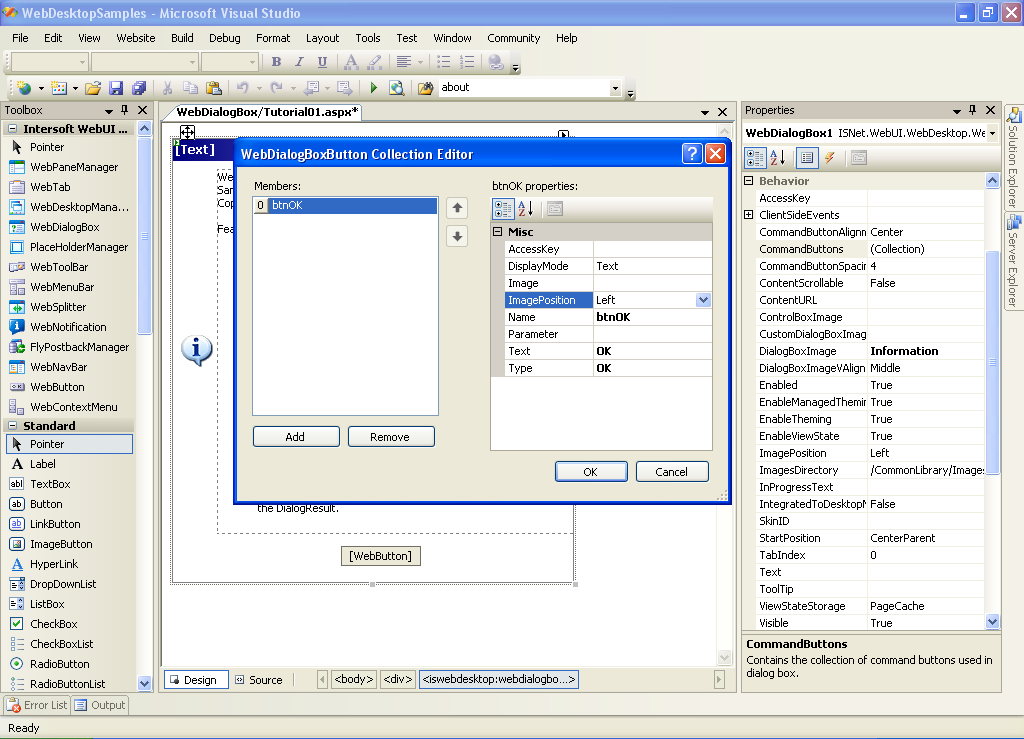
You can add or remove WebDialogBox's Button(s) in this editor. Ultimately you will have to specify the type of the WebDialogBox's Button (by default is NotSet) which will determine its DialogResult.
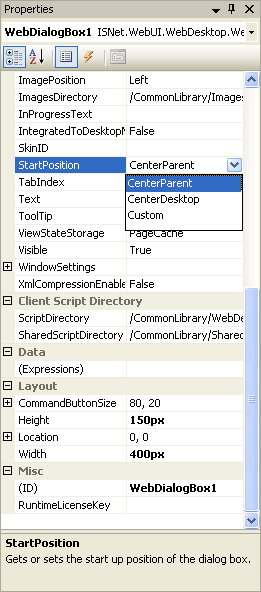
- Finally, you need to determine where will be the position of DialogBox when the showDialogBox() is triggered using StartPosition
Property.
 |
|