


Objectives
If you have a main WebToolBar in a page and an IFrame that has its own WebToolBar, you can merge the ToolCommand of both WebToolBar. This tutorial provides you a step-by-step guidance to merge ToolCommands of a WebToolBar to another WebToolBar.
- Create a parent page, for example : ParentWindow.aspx.
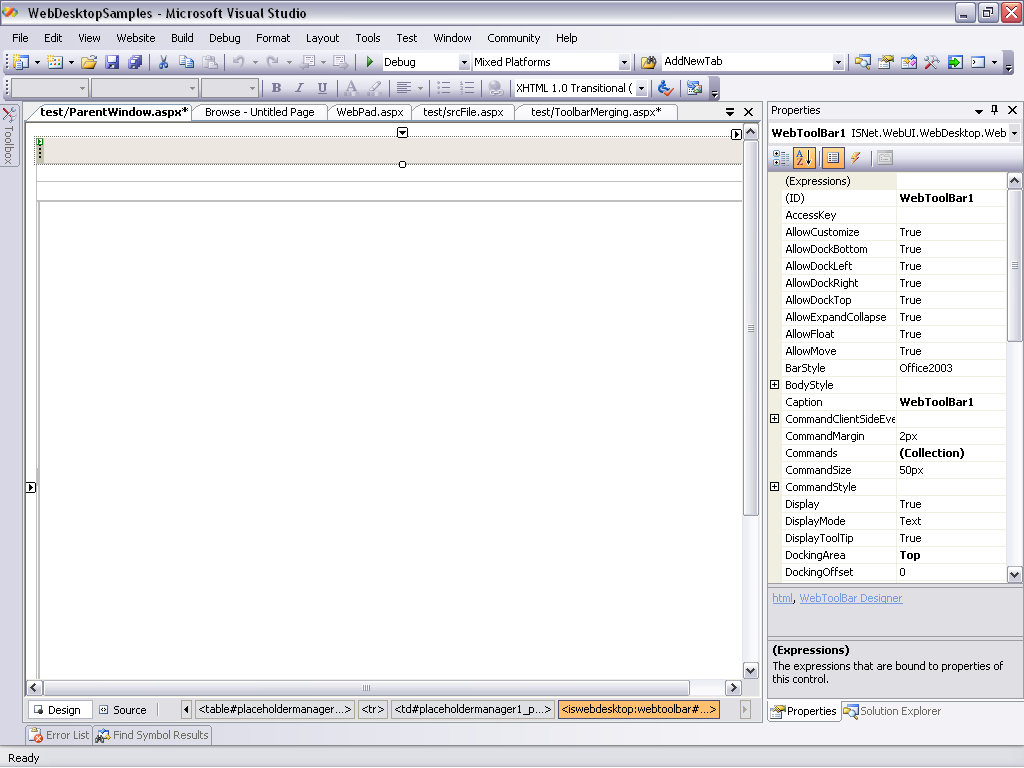
- In ParentWindow.aspx, drag PlaceHolderManager from ToolBox into WebForm.
- Drag WebToolBar from ToolBox into the PlaceHolderManager. Set the ID property to WebToolBar1.
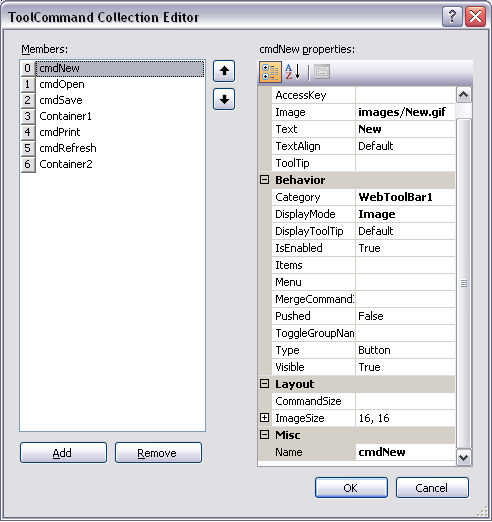
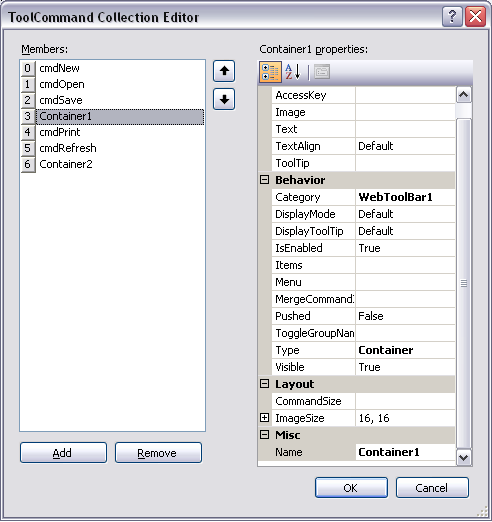
- In Commands property, add ToolCommand Collection in ToolCommand Collection Editor. Click here for further information on how to define a ToolCommand. Add five Button ToolCommand (New, Open, Save,
Print, Refresh) and two Container ToolCommand (Container1, Container2) in ToolCommand Collection Editor. Set the sequence of the ToolCommands like the
screenshots below.
- The WebToolBar in ParentWindow.aspx will look like the screenshot below.

- Create another page, for example : srcFile.aspx.
- In srcFile.aspx, drag WebToolBar from ToolBox into WebForm. Set the ID of the WebToolBar as WebToolBar1.
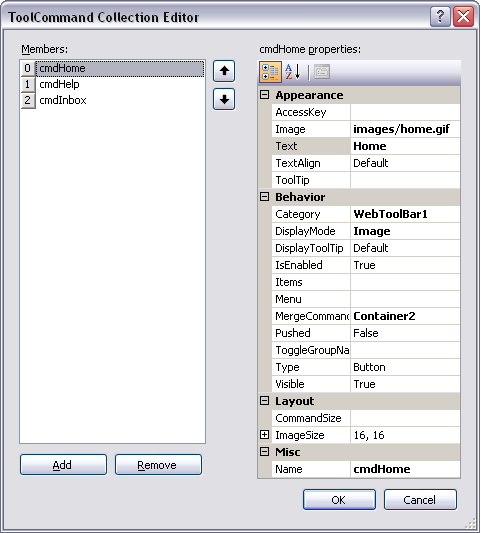
- In Commands property, add ToolCommand Collection in ToolCommand Collection Editor. Add three Button ToolCommand (Home, Help, Inbox).
- Set the MergeCommandID of the ToolCommands.
Name MergeCommandID Home Container2 Help Container1 Inbox Container1

- In srcFile.aspx, display the property window for WebToolBar1. Set the following properties.
Property Value MergeToolBar True MergeToolBarParentID WebToolBar1

- The WebToolBar in srcFile.aspx will look like the screenshot below.

- In ParentWindow.aspx, add an IFrame and set the source property to srcFile.aspx.
Script  Copy Code
<iframe src="srcFile.aspx"></iframe>
- Compile and run the application.

 |
Help and Inbox ToolCommand from srcFile.aspx is placed in the Container1 ToolCommand of ParentWindow.aspx and Home ToolCommand from srcFile.aspx is placed in Container2 ToolCommand of ParentWindow.aspx. |
 See Also
Related Articles
{Creating Dockable Toolbar}
Configuring ToolBar Merging