


Objectives
WebToolBar supports Multiple Rows Docking, just like what we used to see in common desktop application.
This tutorial will show you how to configure a Multiple Rows Docking.
Following are steps to add item to WebToolBar and change the command type.
- Drag PlaceHolderManager to WebForm.
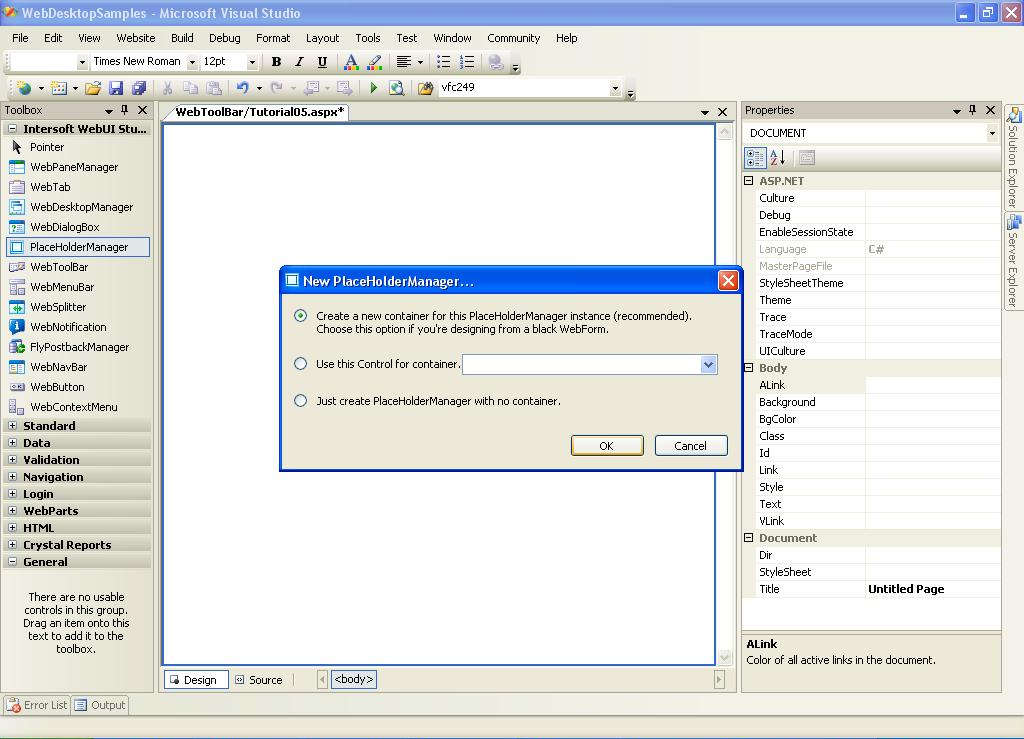
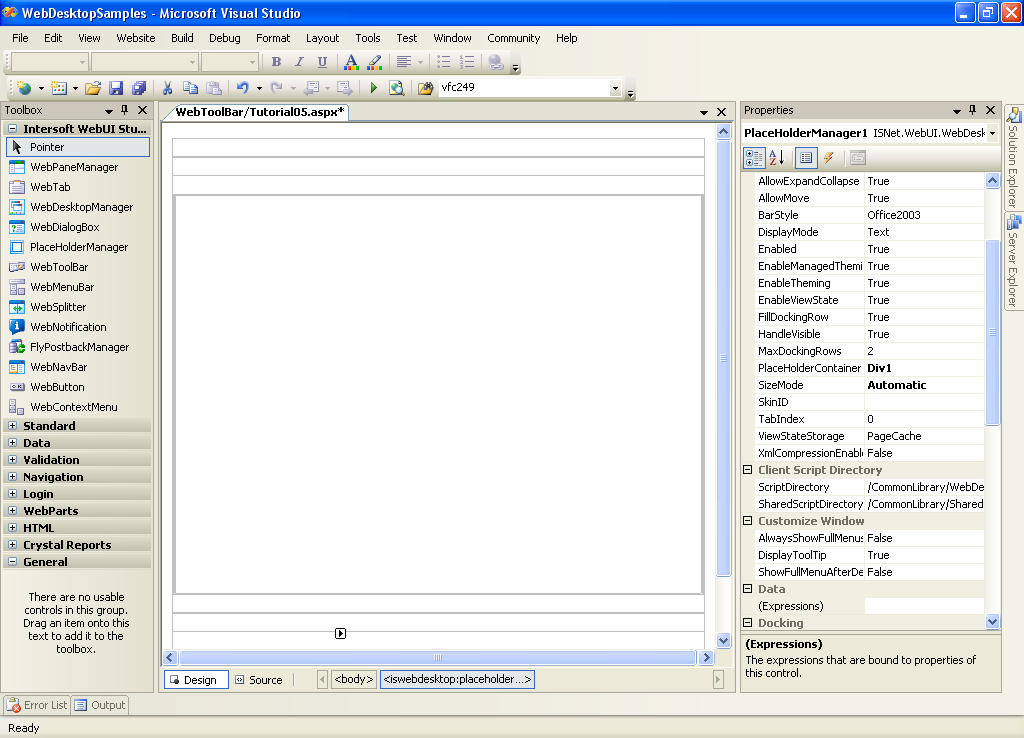
- Right click on PlaceHolderManager and choose PlaceHolderManager Designer.
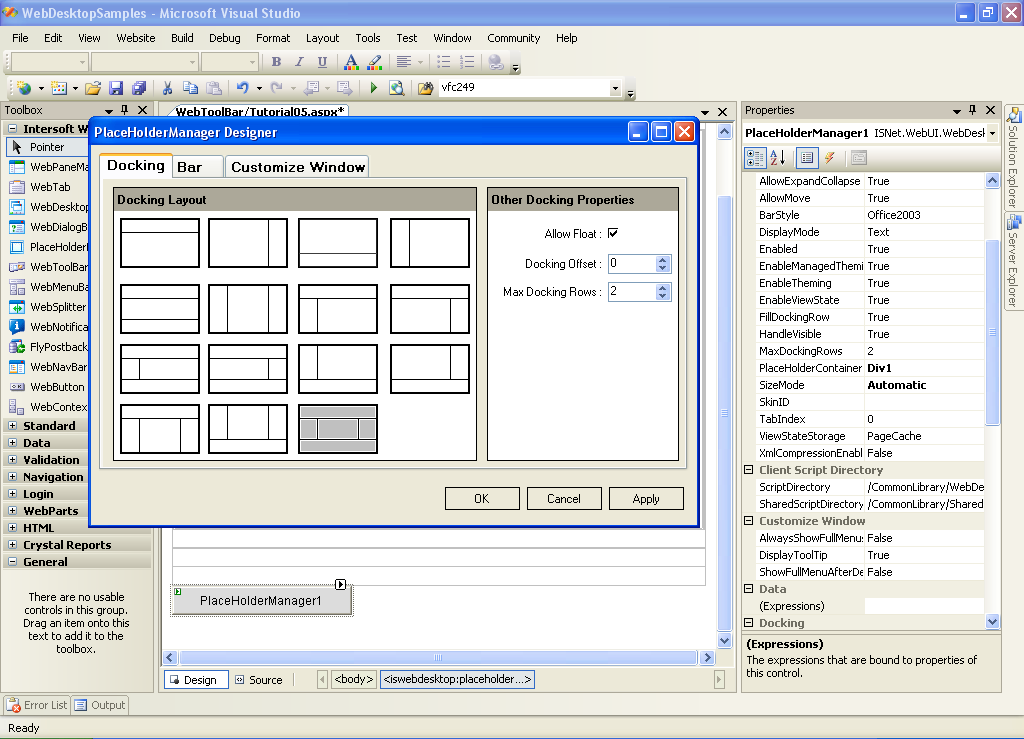
You can change the layout and properties of PlaceHolderManager in this designer, ultimately you need to specify maximum docking rows for the WebToolBars.
- Drag First WebToolBar to PlaceHolder Manager.
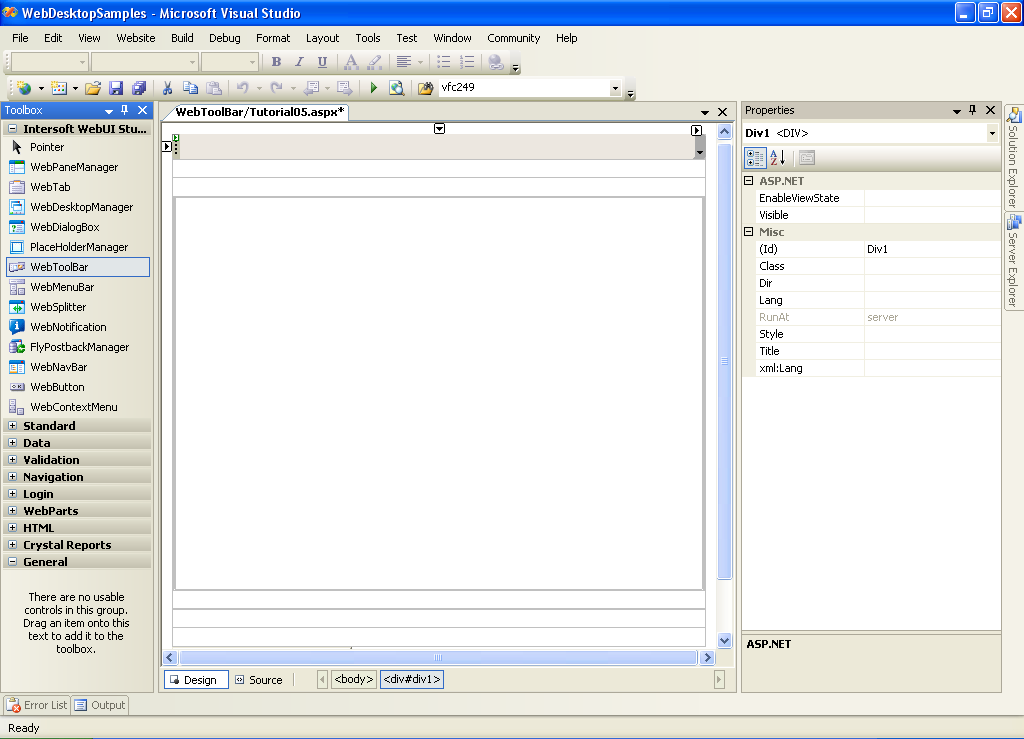
This will place the WebToolBar to Top Most Row in PlaceHolder manager, to learn how to change the docking position see "Changing Toolbar docking at design time" Tutorial.
- Drag Second WebToolBar to WebForm.

This will place the WebToolBar on second row bellow the first WebToolBar.
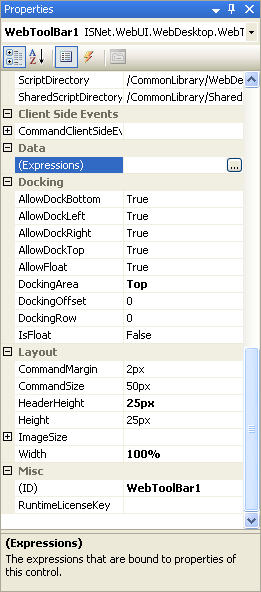
- Open First & Second WebToolBar's Property Window.
- In Docking Property Set, change DockingArea Property to "Top" or others.
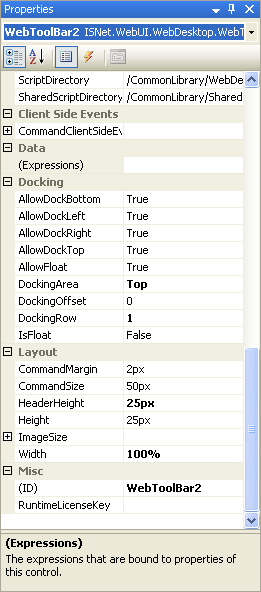
- In Docking Property Set, change DockingRow to 0 (for First WebToolBar) and 1 (for Second
WebToolBar).
- Run the project.
 |
|