


Objectives
WebToolBar supports multiple ToolBars in same Row, just like what we used to see in common desktop application.
This tutorial will show you how to configure a multiple ToolBars in same Row.
Following are steps to add item to WebToolBar and change the command type.
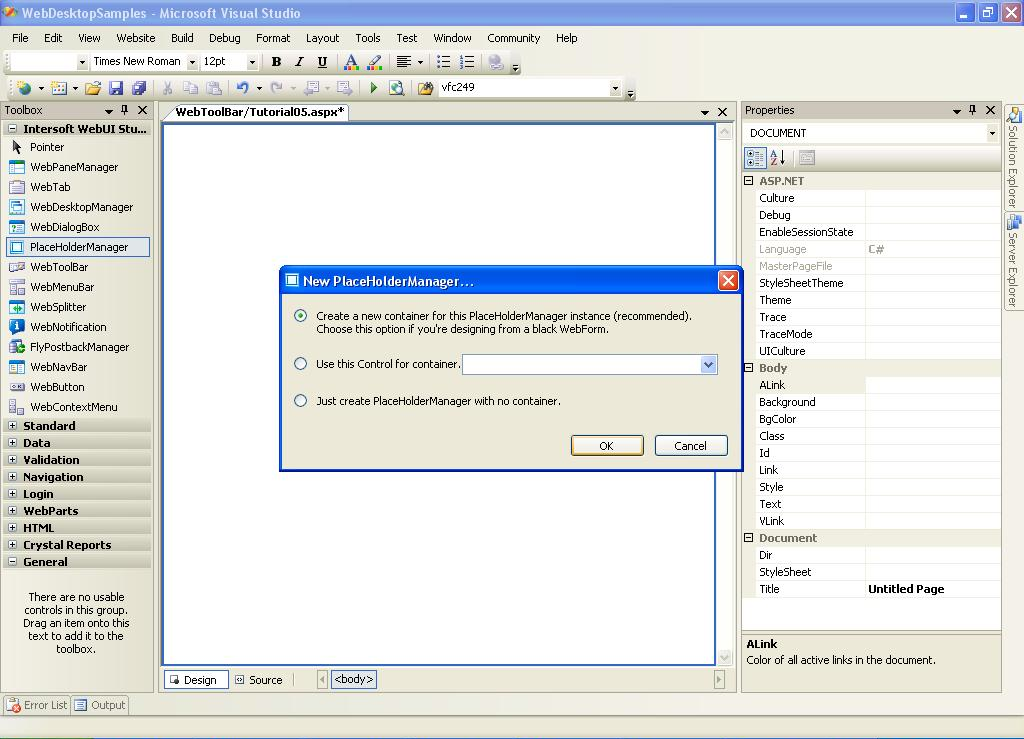
- Drag PlaceHolderManager to WebForm.
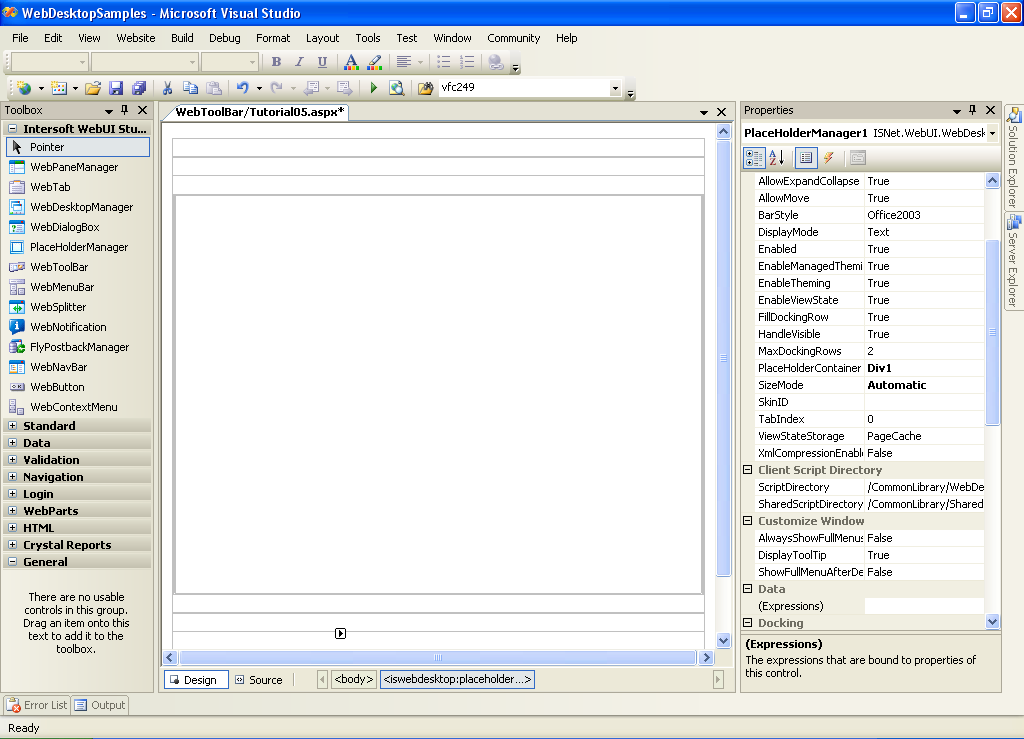
- Drag First WebToolBar to PlaceHolder Manager.
This will place the WebToolBar to Top Most Row in PlaceHolder manager, to learn how to change the docking position see "Changing Toolbar docking at design time" Tutorial.
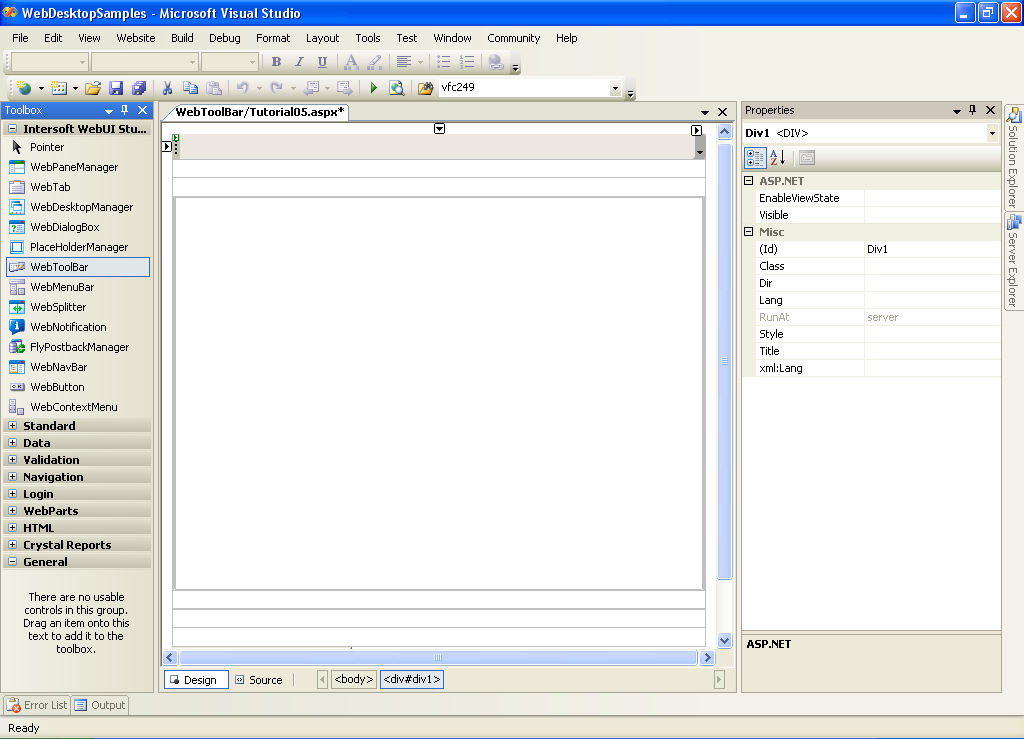
- Drag Second WebToolBar to WebForm.
This will place the WebToolBar on second row bellow the first WebToolBar.
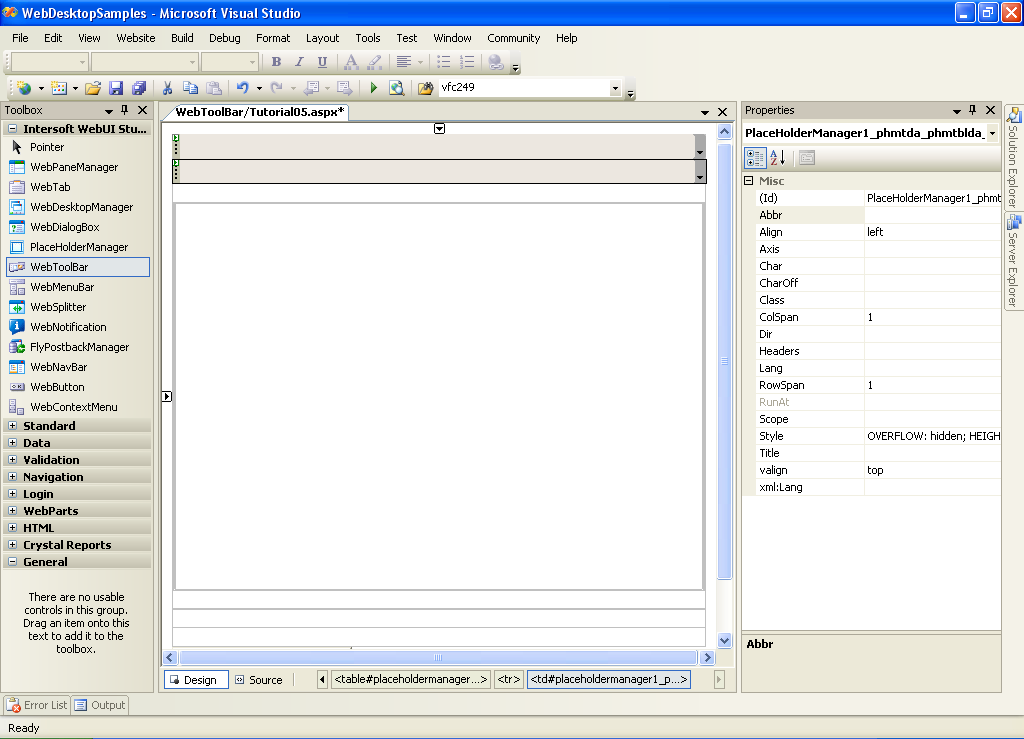
- Open First & Second WebToolBar's Property Window.
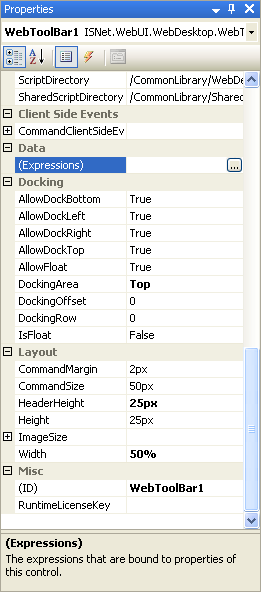
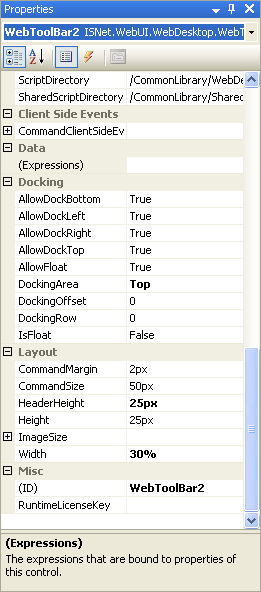
- In Docking Property Set, ensure DockingArea's Property and DockingRow's Property of First & Second WebToolBar are the
same.


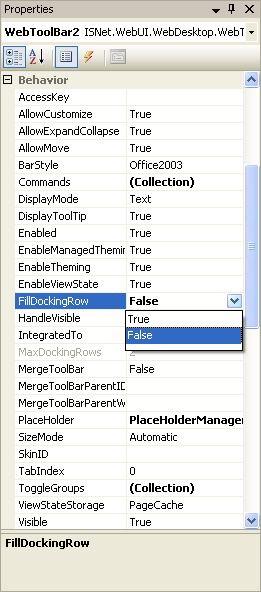
- Set FillDockingRow's Property of First & Second WebToolBar to false.
- Set Width of First WebToolBar to 50% and Width of Second WebToolBar to 30%.
- Run the project and you should see something like this.
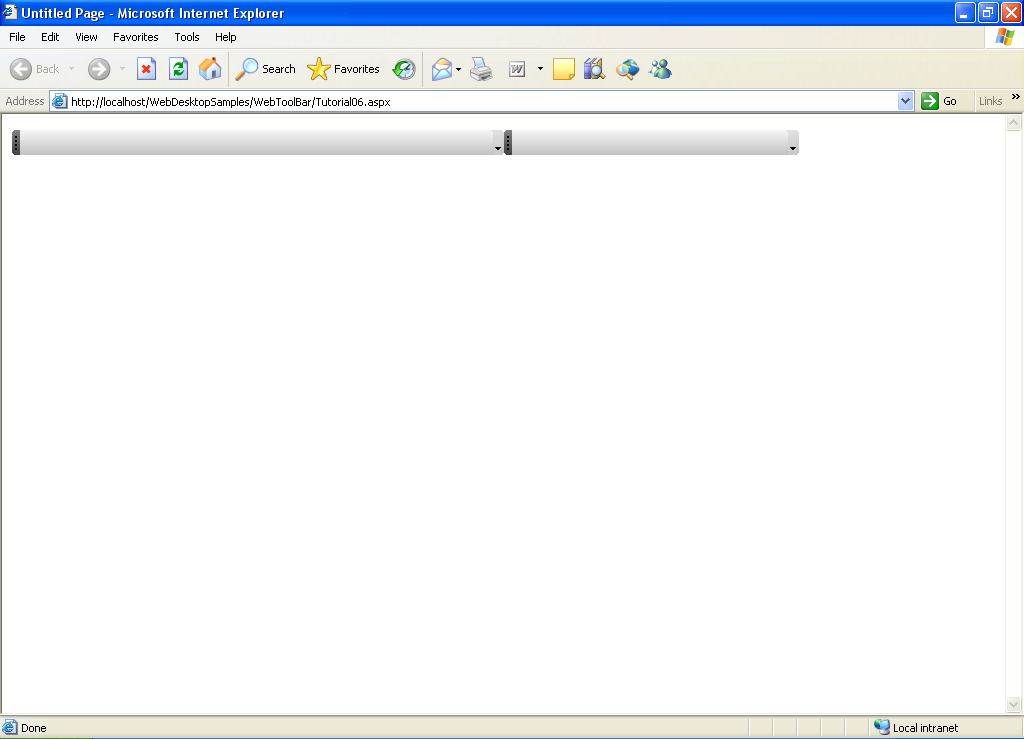
 |
You might want to add some ToolBar Command Buttons in your WebToolBar, to see more information about this please refer to "Using ToolCommand Types" Tutorial |
 See Also
Related Articles
{Creating Dockable Toolbar}
{Configuring Multiple Rows Docking}