


This walkthrough shows you how to use WebGrid with FlyPostBackManager.
During this walkthrough, you will learn how to do the following:
- Use AccessDataSource.
- Use SmartTag to set DataSource.
- Use Data Source Configuration Wizard to set the Database and table.
 Prerequisites
In order to complete this walkthrough, you will need the following:
- Access to the Microsoft Access Northwind database.
- Visual Studio 2005 Application.
Step-By-Step Instructions
To create new web application, bind WebGrid to AccessDataSource and use WebFlyPostBackManager
- Bind WebGrid to AccessDataSource.
- Drag and drop WebFlyPostBackManager and a .NET Standard button to the page
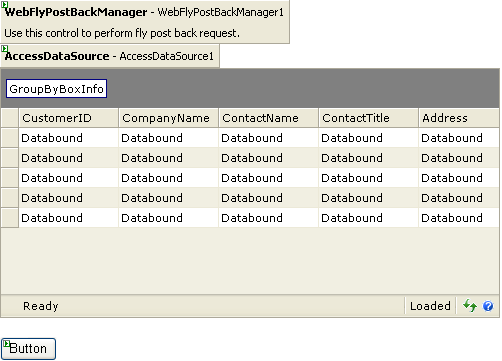
- Set below properties in WebFlyPostBackManager's properties.
ServiceURL ~/Walkthrough.aspx (your page's name) EnableUIMode True - On Button Click server side event, add these codes to adding GroupColumn to WebGrid and then present the new changes when the user clicks on a the button
C#  Copy Code
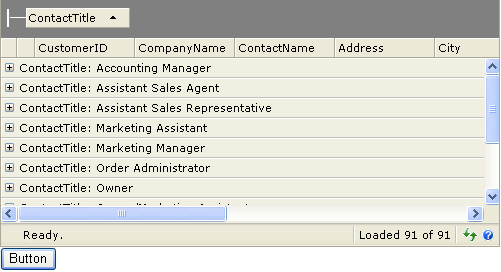
protected void Button1_Click(object sender, EventArgs e) { WebGrid1.RootTable.GroupedColumns.Add(new WebGridGroup("ContactTitle", SortOrder.Ascending, GroupMode.Collapsed, GroupInterval.Default)); WebGrid1.RequiresUIRefresh = true; WebGrid1.DataBind(); } - Here is the result when you press the Button.
 See Also
Other Resources
Walkthrough Topics
How-to Topics