This walkthrough shows you how to bind a WebValueList to a table defined in ISDataSourceControl.
During this walkthrough, you will learn how to do the following:
- Use ISDataSource
- Create DataSet.
- Use ISDataSource SmartTag.
- Use WebGrid's SmartTag to bind to ISDataSource
- Use WebGrid.NET designer to bind a WebValueList
 Prerequisites
In order to complete this walkthrough, you will need the following:
- Access to the Microsoft Access Northwind database.
- Visual Studio 2005/2008/2010 Application.
Step-By-Step Instructions
To Bind DataSource in WebGrid at RunTime.
- Launch Visual Studio.NET 2008.
- Click on File menu, then select New and click Project.
- Select Visual C# Project in Project Types.
- Select ASP.NET Web Application in the Template box.
- Specify the Project's Location and click OK.
- Drag WebGrid instance into WebForm.
- Drag ISDataSource control into WebForm.
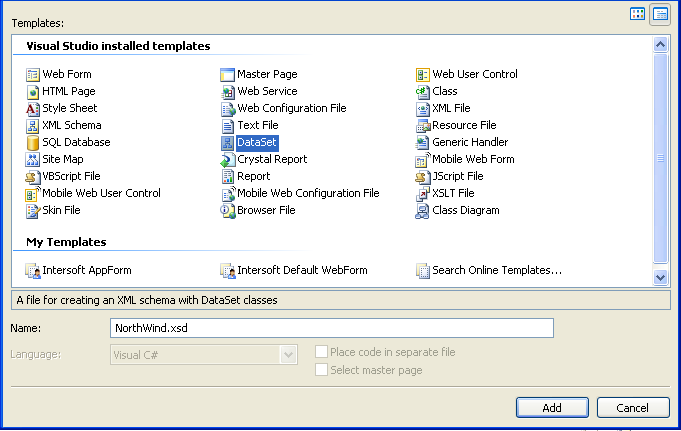
- In Solution Explorer, right click on the project then click "Add New Item...".
- Add a DataSet and name it NorthWind to the project.
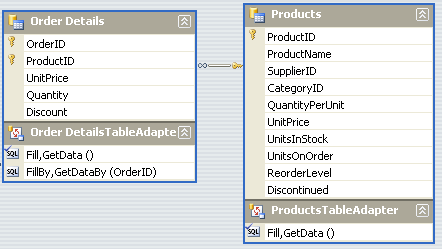
- Add Order_Details and Products tables to the dataset.
- Open ISDataSource SmartTag, click "Configure Data Source...".
- Choose NorthWind dataset as ISDataSource SchemaName.
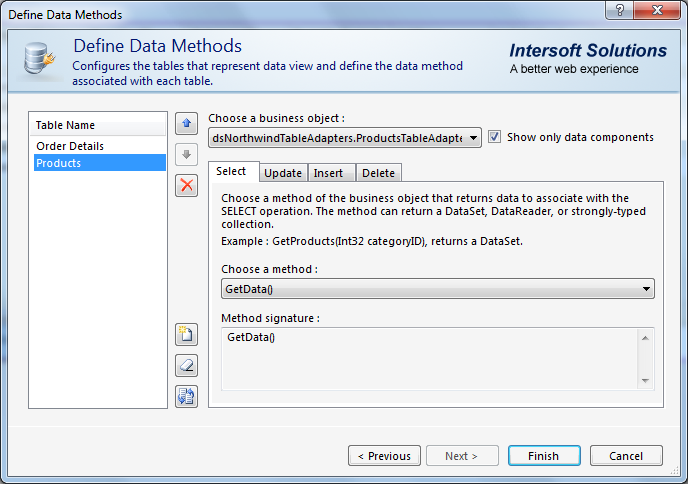
- Click Next and then add Order_Details and Products table to ISDataSource then Click Finish.
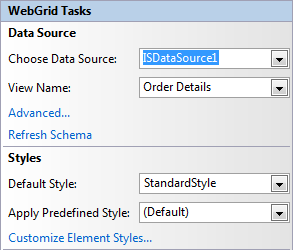
- Open WebGrid's SmartTag and set the DataSource to ISDataSource1 then click OK to Retrieve WebGrid's structure.
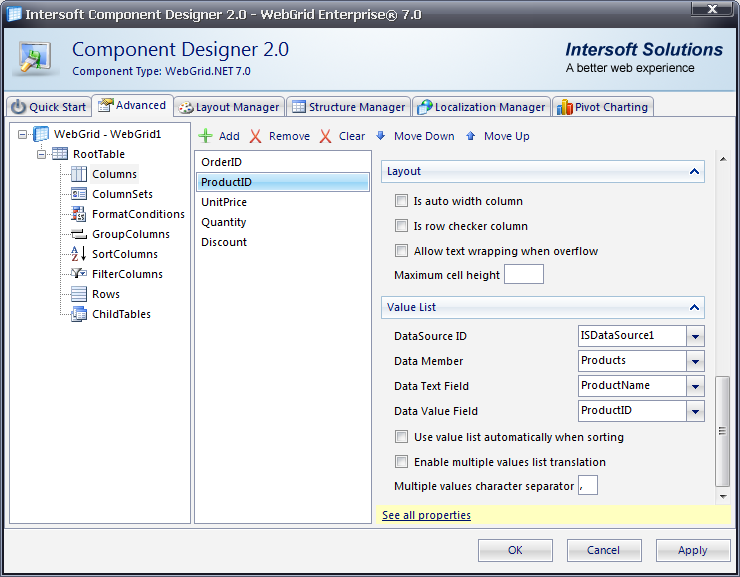
- Open WebGrid.NET Designer - Advanced tab - RootTable - Columns. Search for ProductID.
- In the ProductID go to ValueList Expandable panel.
- In ValueList Expandable panel, set the following properties:
Property Value DataMember Products DataSourceID ISDataSource1 DataTextField ProductName DataValueField ProductID
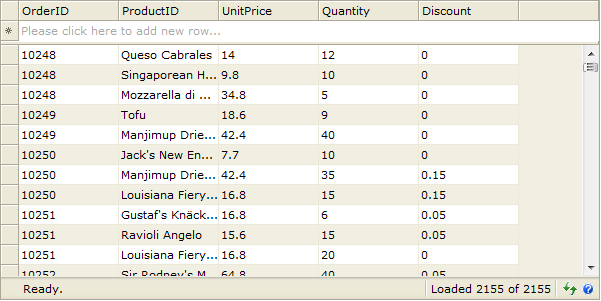
- Compile and run the WebForm. The WebGrid will look like following: