


Objectives
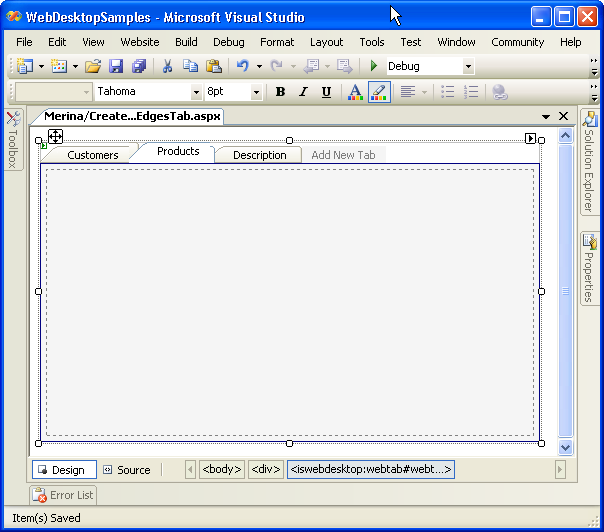
WebTab, which demonstrates a true desktop's behaviors, allows you to create not only a regular tab, but a tab with a true tab behaviors such as the overlapped edges tab. This tutorial will guide you to configure your WebTab to use overlapped edges.
- Create a new WebTab's instance, and add few more TabItem objects by clicking "Add New Tab".
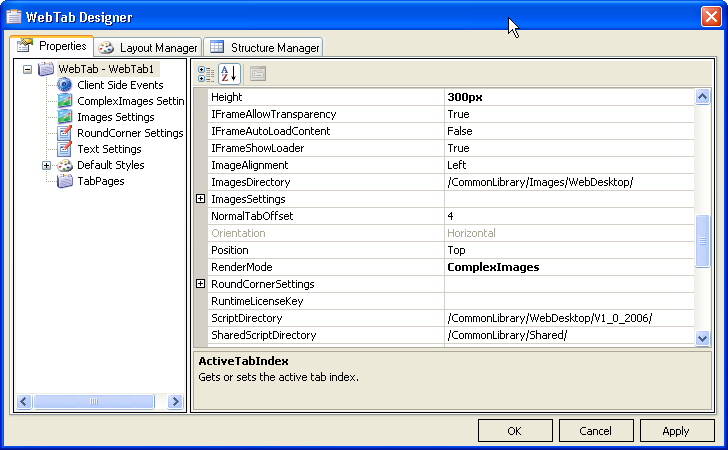
- Right Click on the WebTab's instance, click on WebTab Designer, set the RenderMode property to
"ComplexImages".
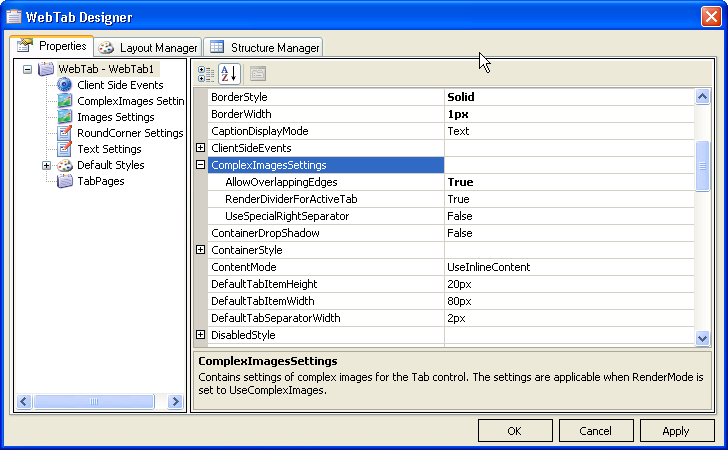
- Set AllowOverlappingEdges under ComplexImagesSettings to "True".

The properties inside ComplexImagesSettings will be applicable only when RenderMode is set to UseComplexImages.
-
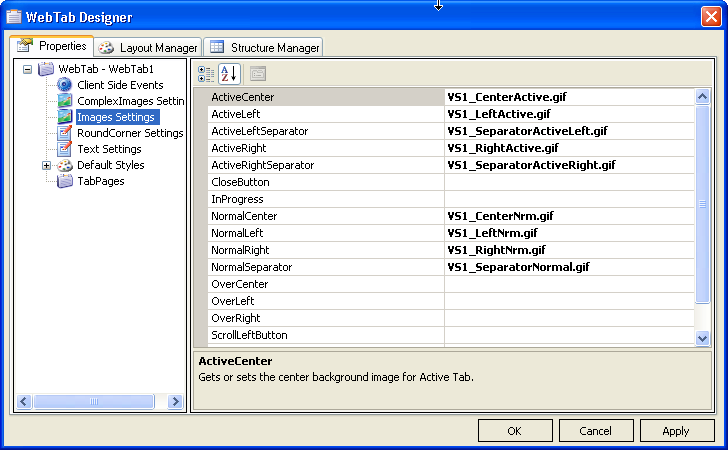
In Image Settings, set the Images property of all necessary images to the overlapped edges' image of the WebTab. By default, the image folder path is set to the /CommonLibrary/Images/WebDesktop/.
-
After you clicked on "Apply" then "OK" button, your WebTab item is now set to use the ComplexImages to create overlapped edges.
-
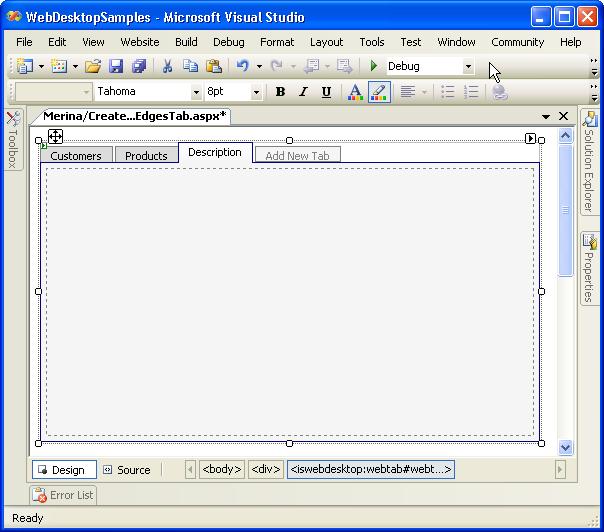
Save all the changes, build and run it on the browser. Finally, the WebTab will look like following:
-
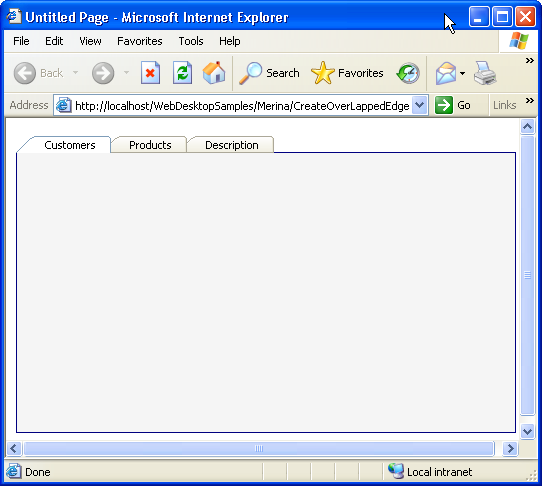
picture 1: Show the Customers tab as the active tab. Notice that the Customers right tab's edge is overlapping the Products tab's left edge.
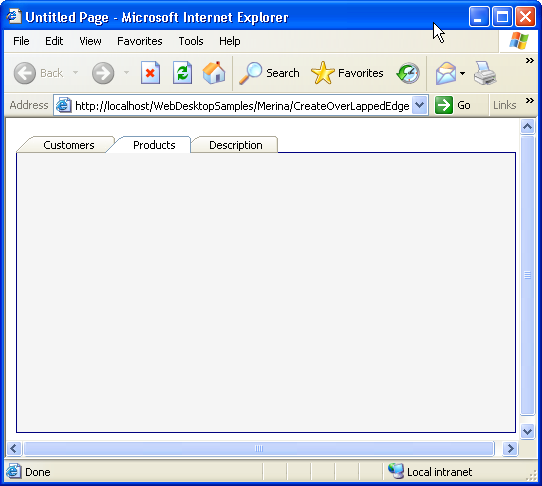
picture 2: Show the Products tab as the active tab. Notice that the Products tab's edges are overlapping the other tabs' edges.
 See Also
Related Tutorials
{Creating Simple Tab}