


Objectives
Create a new style for a component or control. Continuing from previous tutorial (Creating New Theme) it is now ready to edit a style for our WebDialogBox component.
-
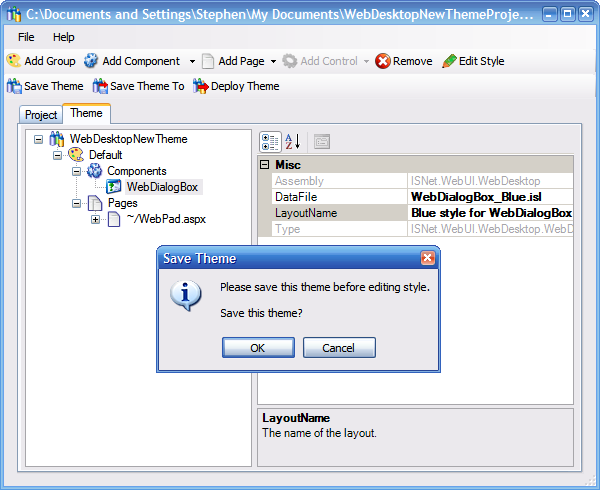
Enter 'WebDialogbox_Blue.isl' as the layout file name in the DataFile property and click the Edit Style button to proceed to creating a new style. The WebStyleManager confirms if the theme file (WebDesktopNewTheme.theme) should be saved before proceeding. Click OK to proceed.
-
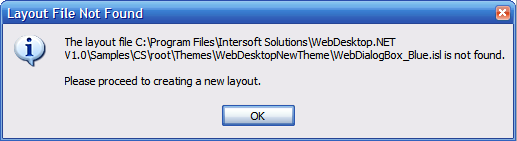
The dialog box below informs that you do not have this file and you are going to create a new file with this file name.
-
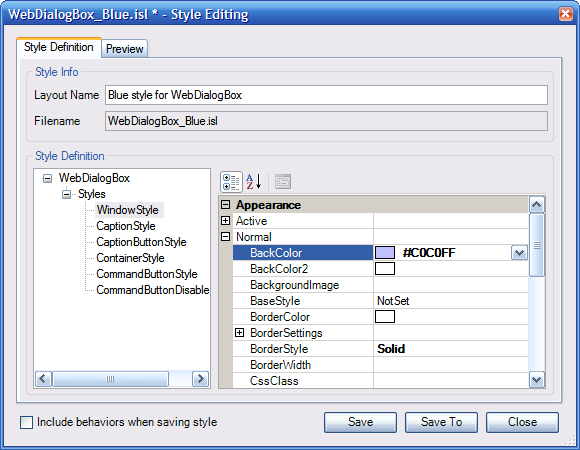
Click OK and the Style Editor dialog will be shown. Select the WindowStyle node which is the child of the Styles node in the Style treeview and change the Normal BackColor to #C0C0FF.
-
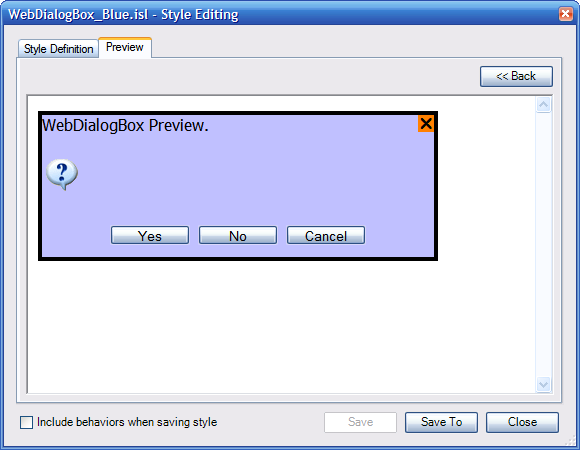
You may also change other styles as needed. Remember to click the Save button before previewing the style, otherwise the changes will not be shown in the Preview tab. Then, click the Preview Tab to preview the new style.
-
Click Save to save the new style and check the 'Include behaviors when saving style' CheckBox if you want to include behaviors settings in the layout file as well. You can modify the behaviors by selecting the WebDialogBox node in the treeview and modify its properties through the PropertyGrid.
-
Click Close to go back to WebStyleManager's Theme tab. Next (Configuring Styles for Web Application), we are going to configure the style for our Web application.