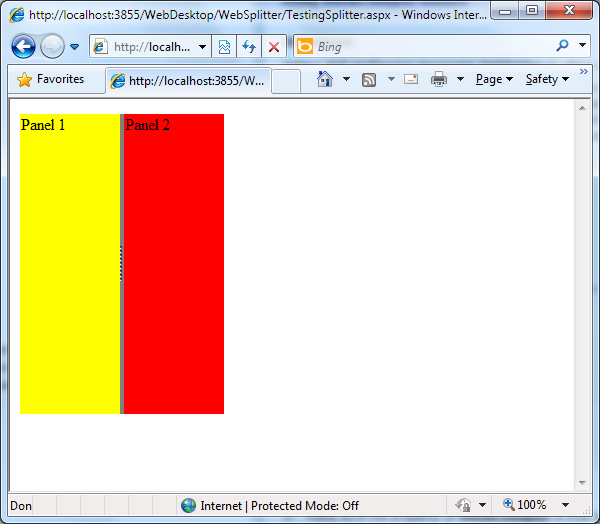
WebSplitter offers expand and collapse feature to easily resize the pane to its
minimum size and restore it back to its previous state by clicking on the grip button.
This topic will show you how to use AllowCollapse feature.
To use AllowCollapse feature
- Create a table with two cells.
- Add another cell between the cells you want to split.
- Drag and drop the WebSplitter control into the cell that just created.
<table style="table-layout: fixed; height: 300px; border-collapse: collapse;">
<tr>
<td style="background-color: Yellow; width: 100px;">
Panel 1
</td>
<td style="width: 100px">
<ISWebDesktop:WebSplitter ID="WebSplitter1" runat="server"
GripImageCollapse="../Images/dot_v.gif"
GripImageRestore="../Images/dot_v.gif">
<SplitterStyle>
<Active BaseStyle="Normal"
BackColor="Black">
</Active>
<Normal Overflow="Hidden"
OverflowY="Hidden" OverflowX="Hidden" BackColor="Gray">
</Normal>
<Over BaseStyle="Normal">
</Over>
</SplitterStyle>
</ISWebDesktop:WebSplitter>
</td>
<td style="background-color: Red; width: 100px;">
Panel 2
</td>
</tr>
- Set Orientation to Vertical and AllowCollapse
to True. You can also set Orientation to Horizontal
when you want to split rows using splitter.
- Set CollapseDirection to either Panel1 or
Panel2. It depends on which panel you want to collapse.
- Set the GripImageCollapse and GripImageRestore
for the grip images.
- You could set the minimum size of Panel 1 or Panel 2 when being collapsed
in Panel1Min or Panel2Min property. (the
default value is 1 pixel)
