


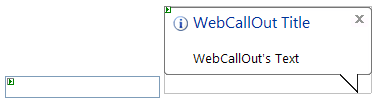
This walkthrough shows you how to use WebCallOut with "Hello World" as the text when user hovers the mouse to TextBox..
During this walkthrough, you will learn how to do the following:
- Use SmartTag to register SmartWebResources.
- Use WebCallOut.NET Designer to set all settings, such as buttons and visual effects.
 Prerequisites
In order to complete this walkthrough, you will need the following:
- Visual Studio 2005 Application.
Step-By-Step Instructions
To create new web application and display WebFishEye control
- Launch Visual Studio.NET 2005.
- Click on File menu, then select New and click Web Site.
- Select ASP.NET Web Site in the Template box and set Location to HTTP.
- Named the Web Site and click OK.
- Right-click on Project's name and select Add New Item.
- Select Intersoft AppForm in the My Templates box and named it as Walkthrough.aspx.
- Drag WebCallOut and ASP.NET TextBox instances from ToolBar to WebForm.
- Open Smart Tag and select Register SmartWebResources™ to register all images and scripts needed for the WebCallOut control.
- Right click on WebCallOut control and choose WebCallOut.NET Designer or you can go to WebCallOut's Properties by right clicking the control and choose Properties.
- Set the following properties:
Properties Value Text Hello World! Title My First WebCallOut TargetControlID <TextBox Id>. For Example: TextBox1 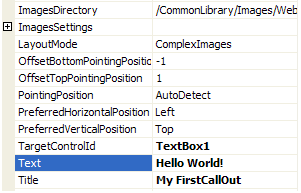
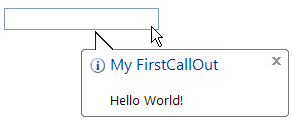
- Save and run the project. When you hover to TextBox, WebCallOut will appear like following.
 See Also
Other Resources
{Overview}
{Concepts}
{Features}