This walkthrough shows you how to ensure validity of drag objects based on WebDragDropExtender effect.
During this walkthrough, you will learn how to do the following:
- Set asp.net panel for drag panel and drop panel.
- Use WebDragDropExtender to allow the drag panel dragged to drop panel.
- Set which panel can be accepted by drop control.
 Prerequisites
In order to complete this walkthrough, you will need the following:
- Visual Studio 2005 Application.
Step-By-Step Instructions
To set restricting a drop control to accept only Number data type.
- Launch Visual Studio.NET 2005.
- Click on File menu, then select New and click Web Site.
- Select ASP.NET Web Site in the Template box and set Location to HTTP.
- Named the Web Site and click OK.
- Right-click on Project's name and select Add New Item.
- Select Intersoft AppForm in the My Templates box and named it as Walkthrough.aspx.
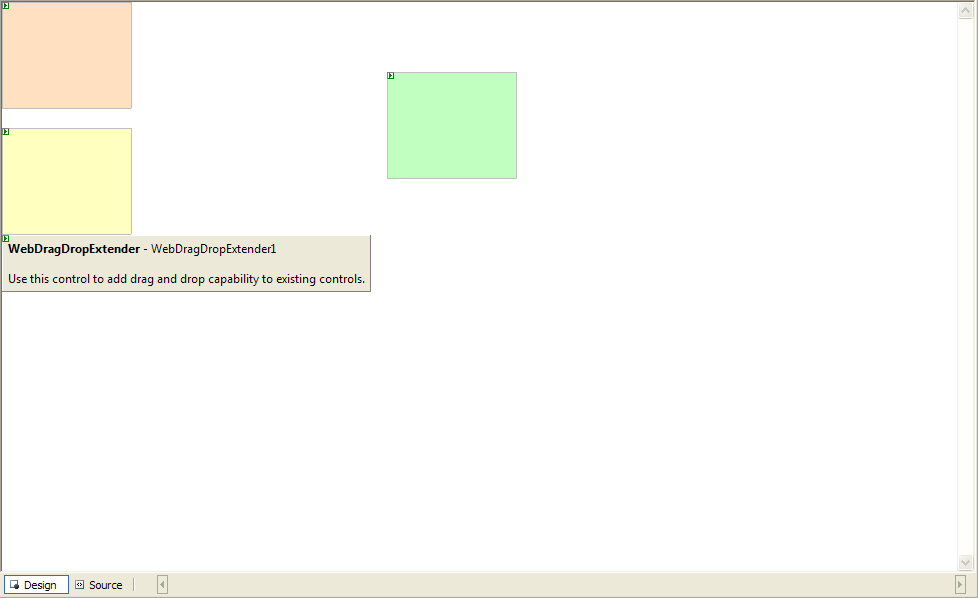
- Drag WebDragDropExtender instance from ToolBar to WebForm.
- Drag 3 ASP.Net panel to WebForm.
- Set the background of each panel to different color (e.g : first panel pink, second panel yellow and third panel green).
- Click on WebDragDropExtender instance and press F4.
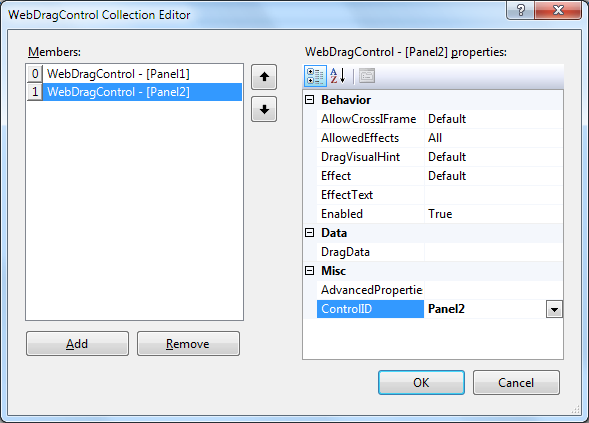
- On DragControls property, click the (collection) button to open WebDragControl Collection Editor. You can set which panel will be the DragControl.
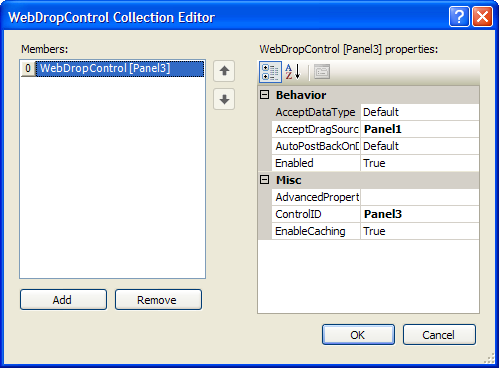
- On DropControls property, click the (collection) button to open WebDropControl Collection Editor. You can set which panel will be the DropControl and set AcceptDragSourceControls to Panel1.
- Run and compile the project.
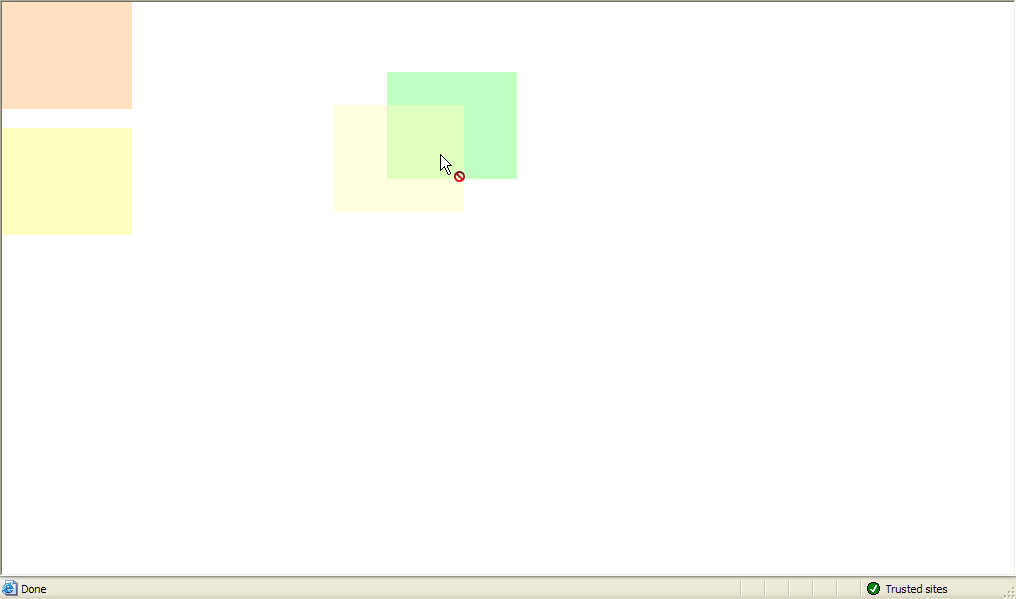
- Try to drag the pink panel and you will see the restricted effect from the pink panel.